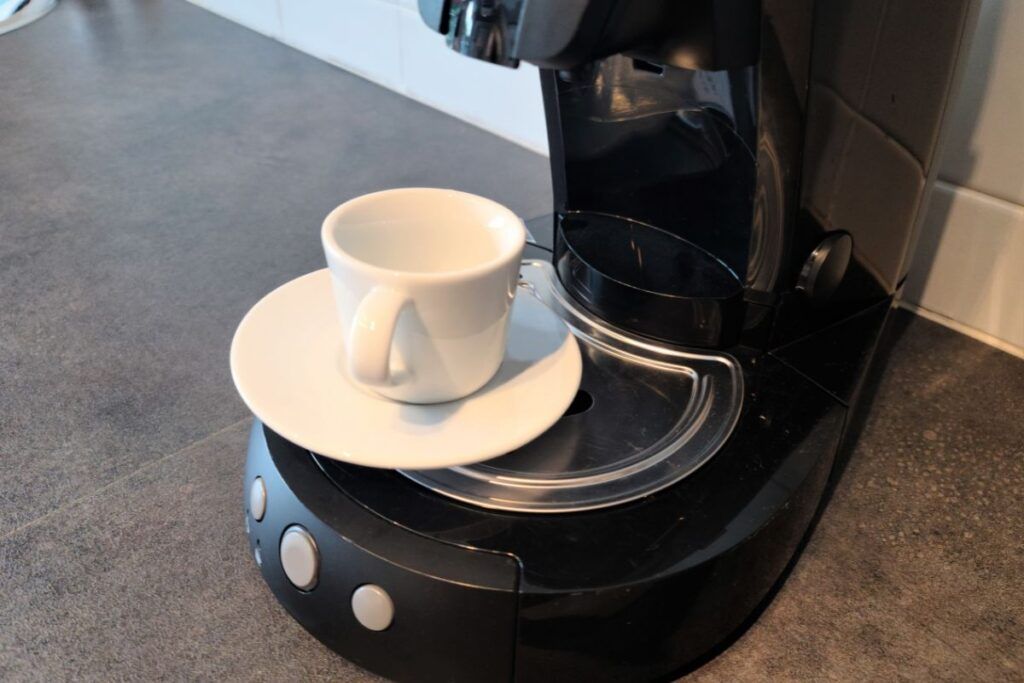
If you are a coffee-lover like myself, you might have a Keurig that you use every day. But, one fine morning, if your Keurig won’t close, you might not be able to enjoy your cup of coffee, and that won’t be the ideal way to start the day.
If your Keurig doesn’t close, remove the display shroud. Access the backside of the machine, and you will notice an empty hole that is supposed to be occupied by a plastic part. If not, you can fill that space with a clear, flexible bumper to fix the issue.
You are at the right place if your Keurig doesn’t close, as I will discuss all the possible solutions to help you fix this issue. So, keep reading.
Check out our list of top-handpicked products for all your electrical, appliance, and HVAC system needs to keep your home running smoothly.
This post includes some affiliate links.Why won’t my Keurig close?
One of the common problems Keurig owners experience is that their Keurig won’t close after they open the lid.
It happens because the Keurig appliances have a small plastic part that holds the lid tray in place.
You can find this on the back side of the appliance.
This plastic part usually gets broken off with time as it is not flexible enough to last very long.
You can fix the issue by adding something in place of the plastic part to fill the gap.
Or, you can do it with a workaround where you learn how to close the lid correctly every time.
I will discuss both in this article.
What do you do when your Keurig lid doesn’t close?
Now that you know why your Keurig lid doesn’t close, let’s see what you can do about it.
I will take you through the step-by-step process of fixing this.
Disclaimer: The steps might be slightly different for different models of Keurig.

I own a Keurig 2.0, and I am explaining what works on mine.
- Open the lid of your Keurig.
- Remove the k-cup holder, as it can come in the way. Hold it from the side with one hand and use the other hand to find the handle underneath. Push the handle upwards and take the k-cup holder out.
- You might notice a tray beneath the k-cup holder, but you won’t need to remove that, as it won’t come your way.
- Then you need to remove the display shroud, as it can come in the way while you try to fix the issue. To do that, take a screwdriver and unscrew the 2 screws beneath the shroud.
- Now, lift the handle as far as you can and try to squeeze the sides of the shroud, and lift it through the handle.
- It might not be easy to remove the shroud, and you will need to twist it while squeezing it out of the Keurig handle.
- Now, lift the handle, and you will find that a needle that pierces the k-cups is blocking the tray, which is why the lid refuses to close. This tray that you see is misaligned.
- Turn the Keurig around and access the backside. You will see a metal rod, and you will find a gap near it. This gap causes all the problems as it doesn’t allow the tray to move up.
- Get some clear, flexible bumpers from home depot. Ensure you get the flat ones, not the rounded ones, as the rounded ones won’t fit.
- If the bumper seems too big for that gap, trim it.
- Now, use a piler to insert the bumper into the gap. Make sure the trimmed side faces you.
- Try to close the lid, and you will notice that it doesn’t get stuck anymore.
- Reassemble the Keurig, and you can start using it again.
There is another workaround where you don’t need to do all these.
All you need to do is understand how you can close the lid using a simple technique.
- Open the lid.
- When you do so, you will hear a clicking sound. If you try to close the lid from this point, it won’t.
- I already told you in the previous point that the misaligned tray doesn’t allow the lid to close.
- Locate the tray and the needle that gets stuck to the tray.
- Now hold the handle and push it up till you hear another click.
- Hold the lid with your thumb and push the tray downward with your index finger while bringing the lid down with your thumb.
- And that should help the tray come to the position it is supposed to, which closes the lid.
If you cannot close the lid even after these, seek professional help.
How do I reset my Keurig?

Resetting your Keurig can solve a lot of issues.
Here is how you can reset your Keurig:
- Press the small and medium mug buttons simultaneously.
- Release them and press the menu button thrice.
- If you check the display, it should show 6:09.
- Press the menu button, and check the time. It should show: brew at 0:00.
- Press and hold the medium mug button, and while doing so, press the small mug button and release both together.
If you were facing some issue with your Keurig, this reset should help you fix that.
Related articles:
- 5 Reasons Your Keurig Keeps Shutting Off (+Fix)
- 8 Reasons Your Keurig Is Flashing Lights (+Fix)
- How Do You Fix A Keurig That Won’t Brew A Full Cup?
- Keurig Not Working All Lights On: Easy Fix
Final words
If a small plastic part of your Keurig has broken off, it can hamper the work of the entire machine. So, if you cannot close your Keurig, inspect the machine to see if the tray underneath the lid is stuck with the needle.
I have mentioned how you can close the lid manually with the right technique or fix the issue so the lid closes as it should. If you cannot fix the issue even after following the steps I have mentioned, call a professional for help.
What is the average lifespan of a Keurig?
The average lifespan of a Keurig is anywhere between 3-5 years. It can depend on how you use the machine and whether you maintain it and clean it well.
How often should I clean and descale my Keurig?
It is best to clean and descale your Keurig once every 3-6 months.
Reference: Keurig Official Manual.