Vents are important for all houses. If you have an attic, it will require ventilation to avoid moisture, heat, and air. The vents in the attic are part of the heating and cooling system.
To install an attic on the side of the house, determine the right location for the vent, cut a hole, place the vent, and secure it. However, while installing the vent on the roof, you must be cautious with sealing the vent well. Otherwise, it might lead to leakage and other problems.
Vents in the attic can keep your house comfortable, allow enough air circulation, regulate temperature, and prevent mold and mildew. In this guide, we will talk about the different vents that can be installed in an attic and the steps to install attic vents on the side of the house.
Check out our list of top-handpicked products for all your electrical, appliance, and HVAC system needs to keep your home running smoothly.
This post includes some affiliate links.Why do attics need to be vented?
An attic is a small space just below your house’s roof.
You can also call it a sky parlor or a garret. Some people also use it to store a few unused materials.
Since it is just below the roof, most people overlook the area and do not add any ventilation.
But, adding adequate ventilation in the attic can improve energy efficiency, reduce water damage, and increase your roof’s lifespan.
Installing attic vents on the sides of the house allows fresh air to enter the space and removes stale air from it.
It will also prevent the formation of moisture build-up, mold, and mildew and help in having optimal humidity levels.
How much ventilation do you need for an attic?
Generally, an attic requires around 1 square foot of ventilation per 300 square feet of the attic area.
So, the ratio of the attic ventilation would be 300:1.
Half of the ventilation would be the intake vents, and the other half will have exhaust vents.
To get the square foot of your attic, multiply the length by the width.
For example, if it is 30×50 feet, the attic measures 1,500 square feet.
Divide this by 300. So, you need 5 feet of ventilation in a 30×50 feet attic.
Half of the feet will have intake vents, and the other half will have exhaust vents.
What happens if I install too much ventilation in the attic?
Indeed taking vents in the attic can improve air circulation and eliminate bad air. Still, you can only add a few vents.
Adding too much ventilation in the attic is a bad idea.
Too much ventilation can destroy your house’s roof and walls and increase electricity bills.
When you allow too much air circulation in the attic, your roof will collect excessive moisture and cause serious damage and leakages.
How to install attic vents on the side of the house?
You can install attic vents on either the house’s side or the rooftop.
Before installing vents on the house’s side, you must find a good location.
The best one would be a wall where you have not installed any pipes or other structural things.
Do not disturb any electrical wiring or water piping while making holes while installing the vent.
Installing attic vents on the side of the house is relatively easy.
But the vent type can impact the installation process.
All types of vents are not meant for the side of the house.
Most of them are installed on the roof, for example, over fascia vents, drip edge vents, cupola vents, turbine vents, etc.
The vents you can install on the side of the house are mostly the gable vents and soffit vents.
These are the types of intake vents.
Let’s talk about them and their installation process.
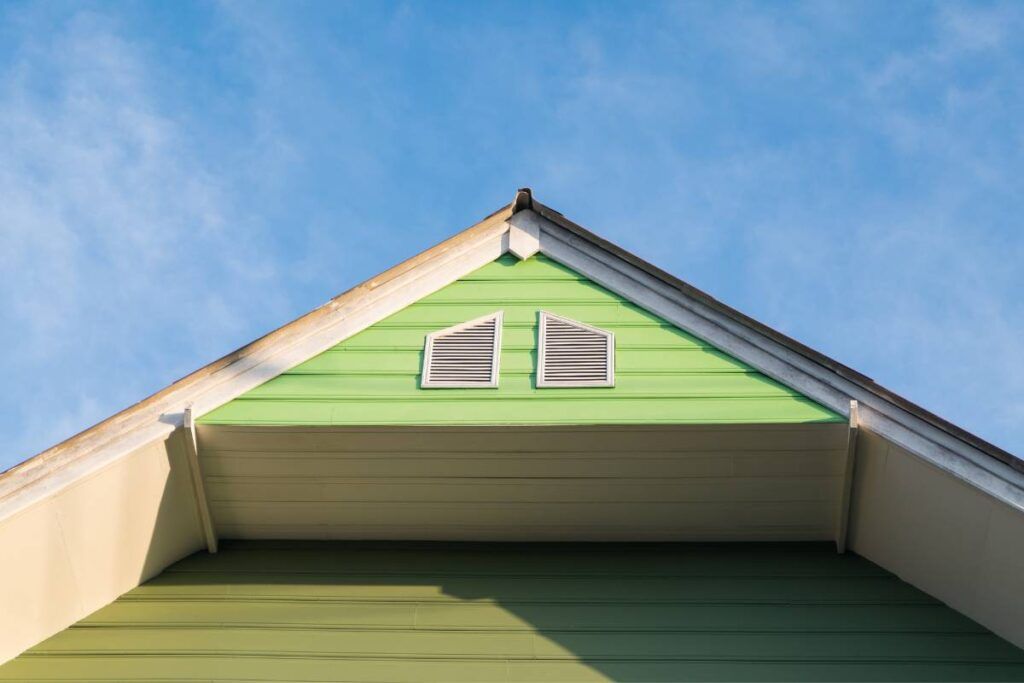
Gable vents
Gable vents on the side of the house are an excellent choice for the attic.
These vents allow the air to enter the attic and keep it fresh.
You can install gable vents both on the roof and the side of the house, on the wall.
These are quite large for which enough fresh air can enter and circulate throughout the attic.
Since these vents are large enough, the stagnant air will easily get removed from the attic and keep your house comfortable during the summer and winter.
The vents replace the warm moist air with cooler air, therefore keeping your house filled with cool fresh air.
Gable vents work best when you position them toward the prevailing wind.
However, the vent is not ideal during rainy and windy weather, as rainwater can enter your attic.
First, choose one side of the attic where you wish to install the vent.
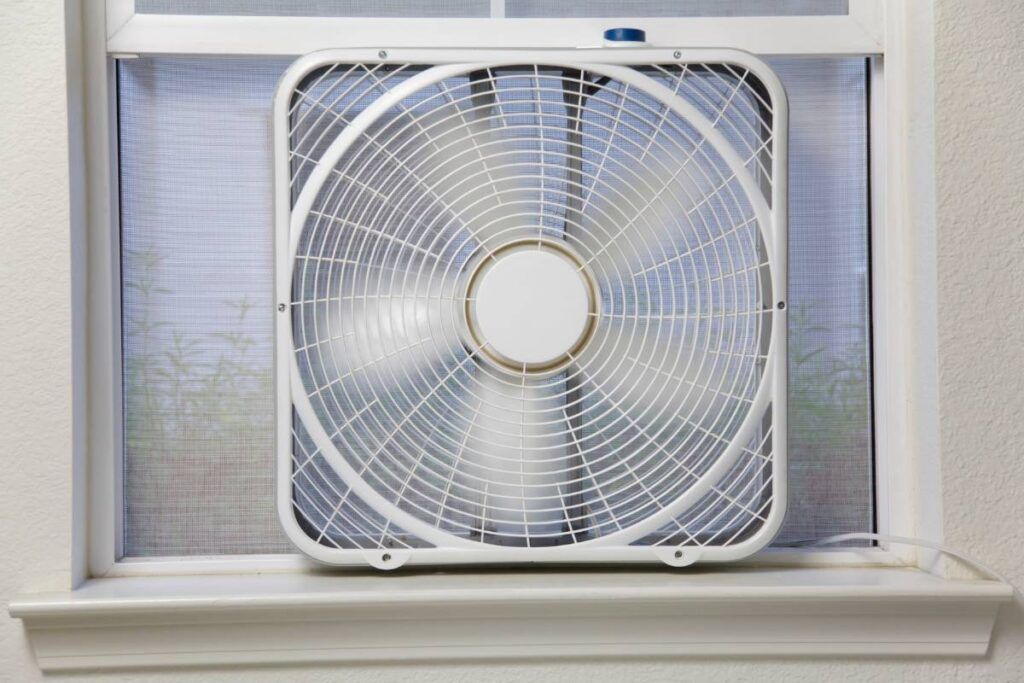
Also read: Can I Put A Box Fan In My Attic? (Attic Ventilation)
To install gable vents in the attic at the side, go through the following step guide:
Step 1: Preparation
Use the templates available with the vent or the vent itself to mark the vent size on the attic wall.
Use a pencil to draw the markings on the side of the house, both inside and outside.
It will ensure that you put the vent in the marked location and both side markings match after installation.
Build a frame with a 2×4 lumber board between the studs.
Do not forget to leave at least ⅛ inch clearing around the vent.
Once you have built the frame, drill holes in every corner, through the attic wall to the outside.
Step 2: Cutting
After drilling holes, use chalk lines to connect the hole points to form an outline of the gable vent.
Attach a bi-metal blade on the reciprocating saw and cut the outline of the vent on the attic wall.
Use a plumb bob in the vent’s opening to understand the flange location. Mark it with chalk or pencil on the sides.
Adjust the blade on the circular saw to the side’s depth and cut along the vent outline on the attic wall.
Remove the siding where you will place your vent flange.
Use building paper around the opening and under the siding as a protective border and staple it to the house.
Step 3:
Now, it is time for caulking and a tight water seal.
Apply some caulking around the opening while sliding the vent into the wall.
It will ensure that the vent gets a watertight bond.
Slide the metal flashing around the vent.
Move the vent around until the flange comes under the paper and flashes.
Now mount the vent to the house’s wall with the nails or 2½ inch screws.
Again use some caulking around the entire vent and level it out with your finger or a scraper.
It will ensure extra tightening from the water.
Soffit vents
These vents in the attic help in improving the air quality and make it efficient for breathing.
If installed on the side of the house, it can allow adequate air circulation and prevent mold and mildew in the attic.
Soffit vents allow fresh air to enter, encourage bad air to leave, and maintain adequate humidity levels.
Soffit vents are usually installed on the soffits under the roof eaves, generally on the side of the house.
Soffit vents are installed on the soffit with different materials.
For example, you can use rectangular soffit vents for the attic at the side of the house with materials like aluminum or vinyl.
First, you need to gather the tools required:
- Ladder to reach the eaves
- Metal vents
- Drill
- Stainless steel screws
- Jigsaw
- Pencil or marker
- Silicone caulk
Now, let’s get into the steps.
Find the location
It is important to find out the right location for the vent installation.
Get a stud finder to discover the rafters, so you do not cut into them.
Use the vent as a template and mark out the edges and corners using a pencil or marker on the soffit.
Do some drilling
Now drill holes in the corners of where you will install the vent.
These points will allow you to insert the saw and make cuts.
Cutting
Cut within the scribed area, around ¾ inches inside the drawn lines.
You will require a surface to drill the mounting screws for the vent.
Apply caulk to the soffit vent edges and secure it
Apply some caulk on the outer edges of the vent to make sure the vent sits properly.
Now, lift the vent, press it in the soffit’s cut hole, and secure it by screwing.
Use stainless steel screws at the four corners to secure the vent.
Tighten the screws properly and make sure you secure the vent tightly.
What should I consider before choosing attic vents?

Consider a few things before choosing attic vents, like the weather conditions and the existence of other ventilation.
Weather
Ventilation is not mandatory for areas with mild climates.
But vents are very important if you stay in areas with too many temperature fluctuations. It keeps the humidity and temperature in control.
The weather also determines the type of vent used in the house.
Existing ventilation
Suppose you already have ventilation that is working better to some extent.
In that case, you might not have to install any extra vents for the attic.
But if one vent is insufficient for your house, you may install another for adequate ventilation.
Sometimes, the existing vents need to be fixed.
In that case, you have to remove and repair it.
Make sure you do not add too much ventilation.
That will increase air circulation and create mold and mildew.
The rule is to add 1 square foot of ventilation for every 300 square feet.
How to tell if the attic is properly vented or not?
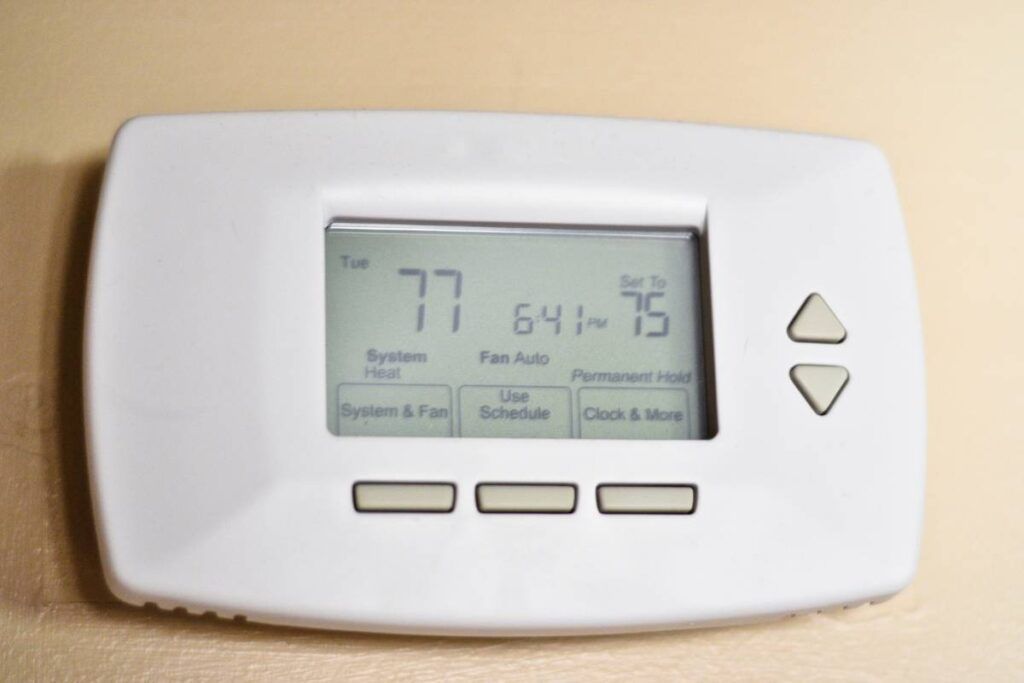
The temperature of your house will help you know whether the attic has proper ventilation or an imbalanced one.
Here are a few tips that can help you know whether the ventilation in the attic is insufficient:
- The house will be too warm due to the heat, as it does not have any place to go.
- The attic will accumulate moisture and frost in winter.
- Ice dams will form at the edge of the roof in winter.
- The home exterior will rot and be damaged.
- The paint will start peeling off the wall and roof.
- The roofs can be damaged.
How much will it cost to install the vents?
Vents on the side of the house are a part of the ventilation system.
It helps eliminate the stagnant air and encourages fresh air to enter the attic.
You can install it on the side of the house, away from the doors and windows, or on the house’s top.
The cost to install a vent on the side of the house depends on the vent type you intend to install.
Usually, the labor charges are around $45 to $200 per hour.
The soffit vents will cost around $3.30 and $4.50 per linear footage.
The continuous vent length can cost around $8 to $10 per linear footage.
If you do not replace the soffit, the labor cost will be around $45 and $75 per hour.
Gable vents cost around $10 to $60, with some models costing around $100.
Final thoughts
The attic requires 1 square foot of ventilation for every 300 square feet.
Installing vents in the attic allows fresh air to enter the house and the attic and pulls stale air out of the house.
Some vents are installed on the rooftop. Gable vents and soffit vents are installed on the side of the house.
Installing vents on the side of the house is quite easy.
Drill holes and cut the vent’s outline on the wall where you want the vent to be located.
Use a few caulk to the outer edges of the vent and press it in the holes.
Secure it with screws.
You can add a few more caulk for water tightness for extra security.
The steps differ based on the vent type.
If you cannot do it yourself, you can hire a professional to do the job.
The labor cost will be around $45 to $75 per hour.
FAQ
What can I do to improve ventilation besides venting?
You can install another vent on the rooftop with roof turbines, fascia vents, ridge vents, or other types of exhaust fans.
You can also install attic fans, costing around $370 to $880.
Make sure that the vents are clear and clean. Clean them regularly.
Reference: Attic Ventilation Fans, Attic Ventilation, Attic Ventilation to Reduce Indoor Air Temperature.