It’s best to relocate the washer and dryer if you find the current location unsuitable. If you are unsure how to relocate your dryer and washer to another room, you are in the right place. Let’s understand the step-by-step process of relocating your washer and dryer.
Relocating the washer and dryer starts with cutting off electricity, detaching the hose, loading it on the trolly to unloading it in your desired location. While relocating, you must install new plumbing and an electric unit in the room where you are shifting the laundry.
I will share the practical steps of relocating your washer and dryer in this article. You will also know how much it can cost to relocate your laundry. So, keep reading.
Check out our list of top-handpicked products for all your electrical, appliance, and HVAC system needs to keep your home running smoothly.
This post includes some affiliate links.Can the washer and dryer be relocated?
If you decide to relocate the washer and dryer to another room, don’t worry, as it’s not something you can’t do.
But it’s not easy as well.
You need to know step by step process to make this easy.
If not, you can mess things up like I did the first time.
But, now, I am aware of all the steps, and I know these should be followed serially.
How to move the washer and dryer upstairs by yourself?
So, here are the steps to help you move the washer and dryer.
1. Drain the water
The first step toward draining the water is to locate the water supply valve and turn it off to disconnect the water supply from the washer.
To drain the water from the washing machine, detach the drain hose.
Here is how you can disconnect the drain hose from the washer:
- Get your tools handy: You need tools like a screwdriver, cross point one, and a flat driver. You may also need a towel, slip joint pliers, and a bucket. Using these tools, you want to move the washer to make it comfortable while disconnecting the drain hose.
- Prepare a space to work: If you want to disconnect the drain hose, you must have enough space. So, bring the washer front so that you work without hindrance.
- Drain the water: Even after draining the washing machine, you might find water in the bottom of the washer drum. Wipe that water using a towel or vacuum.
- Remove the outer body of the washing machine: If you want to access the drain hose and drain pipe, you have to remove the outer panel of the washer in the lateral part. Consider referring to the manual to identify the screw securing the body. Unscrew the screws to remove the outer body of the washer. You can find the drain pipe on the lower side of the machine.
- Time to disconnect the hose: Locate the hose clamp of the washer. You can find it where the hose is interconnected with the drain pipe. Here you can use slip joint pliers to remove the tabs securing the clamps. Now clamp will be free to remove. Pull it out. You can remove the hose.
If you decide to move your washer and dryer, it is better to run the clean cycle.
2. Detach all other hot and cold water hoses

You can find hot and cold water inlets on the back side of your washer.
Before disconnecting the hoses, ensure the water supply is turned off by checking the cold and hot water valves to prevent accidental spills.
Follow these step-by-step processes to disconnect the hot and cold water valves:
- Move the washer forward: Grab the washer, move it forward on one side, and then the other. Pull the machine as far as possible to access the hose pipes. In this situation, it is better to have someone to help instead of doing it alone because the washer would be too heavy to move.
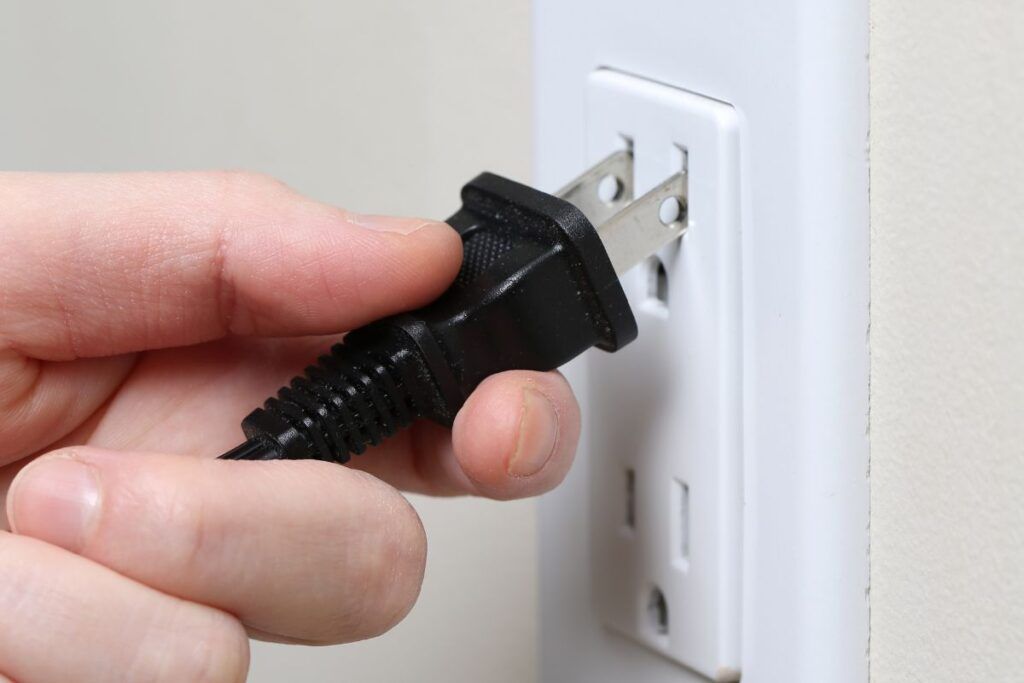
- Disconnect from the power supply: Unplug the washer and the dryer from the electric board to prevent the electric supply while operating.
- Place the bucket: to prevent any water spillage on the floor, place the bucket under the hot and cold water inlets so it can collect all the excess water flowing out.
- Remove the screws from the clamps: Hoses are attached to the clamps. Turn the screws from the clamps counterclockwise to disconnect the hoses until the clamps are loosened. Now don’t put the hoses down on the floor. Point them towards the bucket to let it collect the excess water.
- Ensure the disconnection of valves from the water supply: Even after disconnecting the water supply, it may turn on while moving the machine because some faucets are designed to turn on easily. It’s advisable to check it twice. Wait for a few minutes to avoid this before removing the hoses.
- Remove the hot and cold water hoses: Turn the ends in the counterclockwise direction until the hoses detach. You can use adjustable pliers and pipe wrenches to loosen the hoses. Drain the excess water into the bucket. Ensure to remove the drain hose from the drain. Call the technicians to perform this task if you cannot do it yourself.
After detaching the hot and cold hose, put them in a bag to take them to the other room, or you can attach them to the washer itself using a rope.
3. Ensure the agitator is secured
An agitator is attached to the machine if you have a top-load washer.
It is important to clean the dirt and strains from the clothes.
If you are moving your washer, ensure the agitator is secured.
You can secure the agitator with the shipping bolts.
If you aren’t sure what shipping bolts are, these are attached to the drum to secure it from wear and tear while moving.
You can find the shipping bolt on the back side of the washer.
It usually comes with a washer.
If the washer doesn’t come with the shipping bold, you can use cardboard to lodge between in the space to avoid movement.
You can even buy these shipping bolts online.
After securing the agitator and the drum of your washer, you can move forward to the next step.
4. Unplug the dryer from the electric board
Two types of dryers are commonly used: electrical and gas dryers.
No matter which type of dryer you install, it will be connected to the electric supply.
In the case of an electric dryer, it entirely consumes electricity to rotate the drum by producing the required heat and power.
If you have installed a gas dryer, it will use natural gas to produce the heat required to rotate the drum.
Still, it will be connected to the electrical supply to power the rotation of electrical drums.
You need to be careful when disconnecting the dryer.
To avoid the risk, disconnect the dryer from the electrical supply.
You may have a gas dryer.
In this scenario, you must consider hiring professionals to disconnect it from the electrical unit.
While disconnecting the dryer, check if any dirt is accumulated.
Clean it using a vacuum or brush to avoid malfunctioning in the long run.
5. Secure the dryer’s electrical cord
There are different electrical cords, like 3-prong dryer cords or 4-cord dryer prongs.
Generally, they are hot, neutral, and ground wires with separate return paths of unconsumed current.
When unplugged from the electric board, this may flow freely.
Secure it by attaching it to the dryer to avoid any hassle.
6. Disconnect the ventilation hose
Every dryer has a ventilation hose that plays an important role in the dryer’s operation.
You can find a ventilator hose as a flexible pipe with a large diameter.
As you may already know, the function of the dryer is to rotate the wet clothes with the hot air in the circulating drum.
This hot air escapes as an evaporated stream, collected by the vent duct using a fan and pointed outside the home through the ventilation hose.
This system prevents the risk of fire.
You can find the ventilation hose secured with clamps.
You can use a pair of cutters to disconnect or loosen it.
Now you can easily take the ventilation hose out.
Before shifting to another room, make sure it is clean.
If it is dirty with debris accumulation, you can clean it.
Use a vacuum to remove all the dirt; consider replacing it if it is too dirty.
7. Wrap the dryer and the washer
In this stage, the dryer and washer are disconnected from the electricity, and their hoses are detached.
Now prepare the dryer and the washer to move.
It is good to wrap them with blankets to prevent the machines from possible danger.
You can also cover it with plastic wrap.
Now the washer and dryer are ready to move.
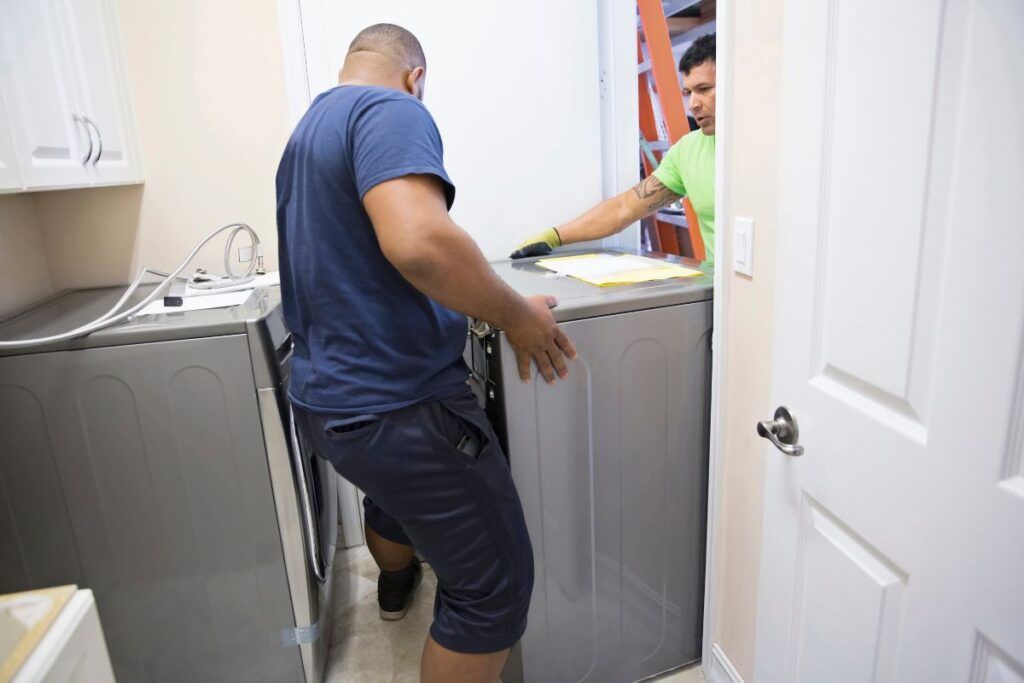
8. Take the help of an applicant cart
While moving the washer and dryer, don’t try to move them on the floor.
These heavy machines will damage the floors.
That’s why moving the machines with the help of the applicant cart is important.
Again don’t try to do it alone; take help from another two people.
Let the first person hold the trolly, and two people can move the machine onto the trolly.
After loading the machines into the applicant cart, move them to the room where you will relocate them.
During the process, don’t rush because there are chances of hitting the doorways.
If the room is upstairs or downstairs, it’s mandatory to take help from another two people to avoid any mishap.
9. Move the cart to unload the washer and dryer into another room
Before moving, make sure it is positioned well in the moving trolly.
As I said earlier, let one person hold the machines and another move the trolly.
After moving the cart into your desired location, it’s time to unload the washer and dryer.
Follow this step-by-step process to prepare for the new location:
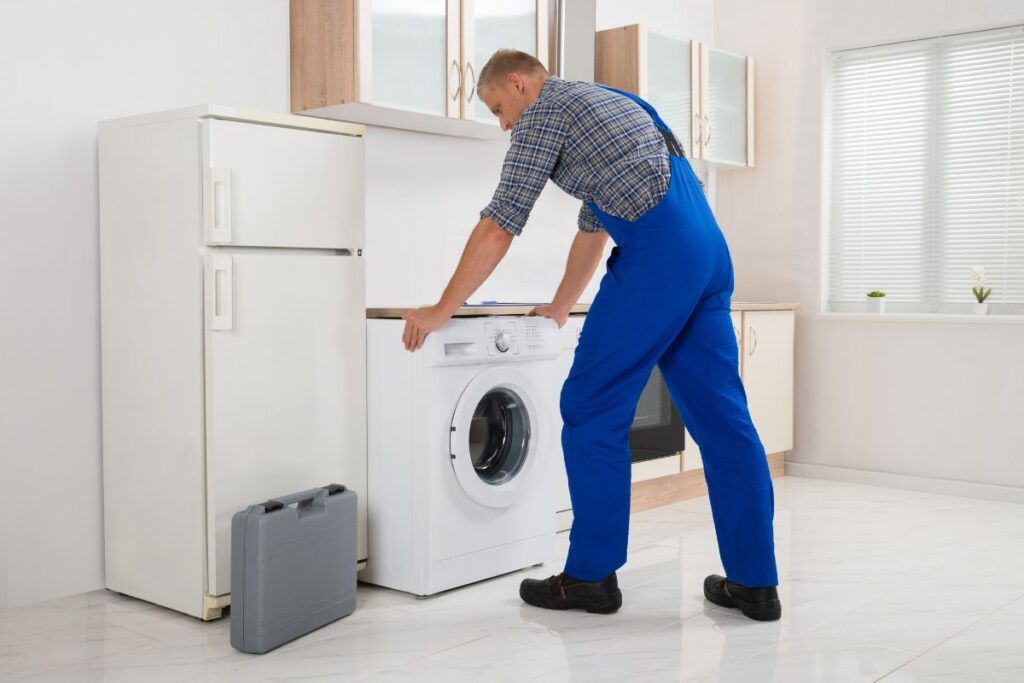
- Make enough space: You should have enough space in the room where you are relocating your washer and dryer. If your apartment is small, you can tuck your washer and dryer inside.
- Electrical unit: With the electrician’s help, install the AFCI unit to prevent fire accidents. Make sure your house has the electrical capacity to handle the load. Install electrical units to supply the required electricity.
- Plumbing: To supply water to the washer, hire a plumber to set up the water lines. If you have a gas dryer, you have to ensure gas lines are set up with the help of professionals. Set up the valves to connect hot and cold water hoses.
After setting up the location, you can unload the washer and dryer.
Make sure the electricity is turned off.
Connect the hoses and water lines.
Remove the shipping bolts and turn on the valves for the water supply.
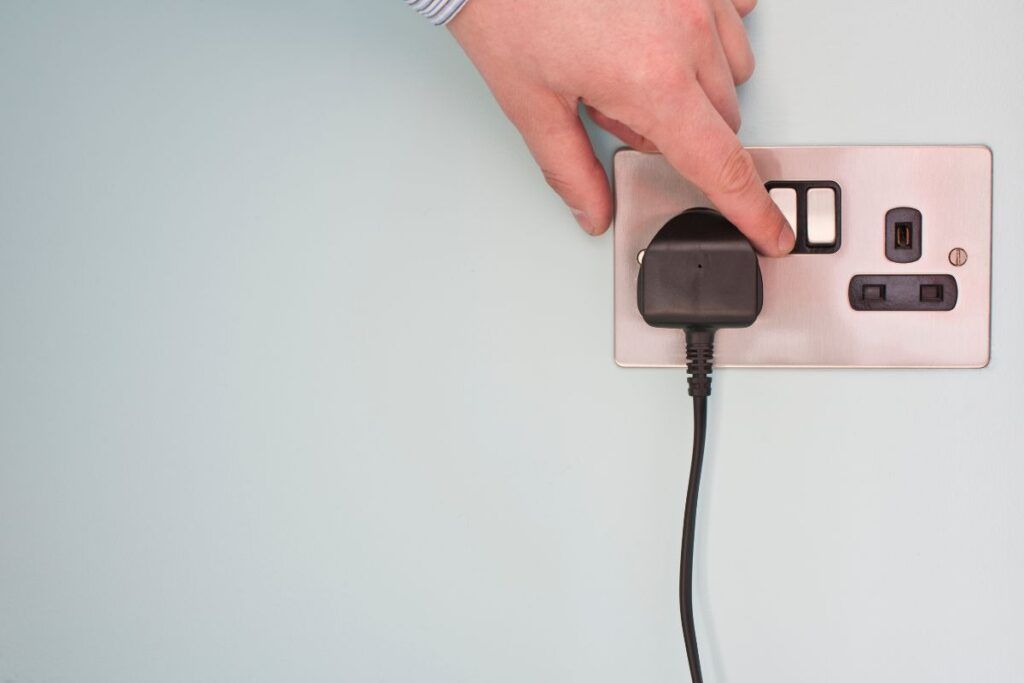
Connect the washer and dryer to the electric board.
Turn on the electricity.
Do the same with dryers, and connect the gas lines.
Connect the ventilation hose.
Plug in the dryer.
Turn on the electricity.
Now the dryer and washer are ready to use.
Do you need a permit to relocate the washer and the dryer?

An electric washer needs 110 volts of an electric outlet.
And if you have a gas dryer, you need a gas supply and hoses.
To install all of these, you must get a permit and learn about the local law you must follow.
The professional you hire to make the setting of the dryer and washer will guide you in this scenario.
The essential factors which need to be considered while relocating the washer and dryer:
- Accessibility: Most people spend more time in their room, so installing the washer and dryer near the room can reduce the hassle of running around with clean and dirty clothes.
- Noise: If you consider accessibility and install laundry near the bedroom, you may face the problem of noise. The washer and dryer make a loud noise that won’t let you focus and may ruin your sleep.
- Space: While deciding to relocate, think if the space would be comfortable enough to do laundry activities.
- Plumbing: After all, a washer and dryer are not just boxes. They have many connections like hot & cold water hoses, drain pipes, gas pipelines, vents, etc. So, it’s important to ensure all the plumbing works are performed best while relocating your laundry area.
- Electricity: Like plumbing, both washers and dryers need an electric supply to function. So before relocating, tune up the electric connection.
How much is the cost of relocating the washer and the dryer?
When relocating the washer and dryer, the cost will vary depending on your choice of hiring a professional or doing it yourself.
If you decide to do it yourself, the minimum cost can be $20-50.
But it will depend and vary.
The cost will include new plumbing installation, electric unit installation, and professionals charge.
The average cost to relocate the washer and dryer can come to $2000.
It may vary depending on the area, local professional charges, and installation process complexity.
How to relocate your dryer and washer upstairs?
If your room is upstairs, follow these steps to relocate the washer and dryer.
- Turn off the electricity: Begin the process by disconnecting the electric supply to avoid danger.
- Shut off the valves and gas supply vent: Continue by turning off the hot and cold water valves. Also, turn off the gas pipeline supply with the help of professionals.
- Secure the electric cord of the washer and the dryer: With the help of a shipping bolt, secure the electric code of both machines.
- Load the machines on the trolly: Wrap the washer and dryer with the plastic cover and a blanket. Position the machines onto the trolly and secure them by putting straps on them.
- Switch on the stair claim button: Now, press the wheel of the trolley against the first stair and switch on the claim stairs button, which you can find on your trolly. Follow this step until you reach upstairs.
After reaching upstairs, follow the steps I discussed earlier to unload and reattach the dryer and washer.
Final thoughts
Relocation of washers and dryers is not an easy process to do alone. Seek the help of your mates or professionals while following the step-by-step process discussed in the article.
And the process of relocation is also expensive. So, plan according to your budget. Consider seeking help from the technicians if you aren’t aware of the local laws concerning acquiring permits.
Last but not the least, ensure safety from electricity and another mishap throughout the process.