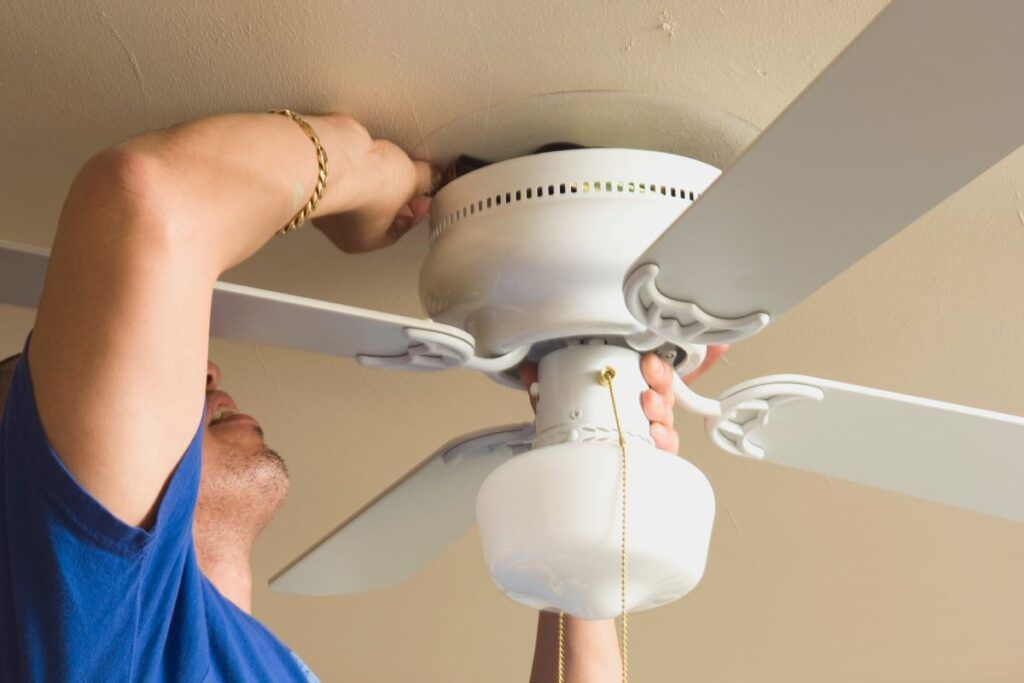
Ceiling fans are an important part of life as they keep us cool in the summer. The switches allow you to adjust the fan and control it from farther locations. If you are planning to wire a 3-way switch in the ceiling fan, you should know the process before getting started.
To wire a ceiling fan with a 3-way switch, you need to remove the old switch, install the new 3-way switch, make all the wire connections properly to the new switch, install the new switch in the wall, install the fan, and test everything.
This article will provide a detailed step-by-step guide about wiring a ceiling fan with a 3-way switch. The process can be difficult for a beginner. If you hesitate, call a professional for the job.
Check out our list of top-handpicked products for all your electrical, appliance, and HVAC system needs to keep your home running smoothly.
This post includes some affiliate links.Introduction to 3-way switch wiring
A 3-way switch helps control a ceiling fan or light fixture from two locations.
For example, a hallway will have a 3-way switch at two different ends to turn on the fan or the light from one end and shut it off from the other.
The circuit is complete when the switch is toggled up or down, and the fan will start rotating.
When the toggles of two switches are in opposite positions, the circuit gets interrupted, and the fan turns off.
A 3-way switch is wired differently from the single-pole switches.
It does not have any ON or OFF mentioned over the switch toggles and does not have any top or bottom.
The normal switches have two terminal screws and a ground screw.
It contains three screw terminals and one ground screw.
The two terminals are of the same color, brass or silver; the other terminal is called a ‘common terminal’ that is often darker.
All the 3-way switches do not have terminals in the same configuration.
Pay attention to the terminal colors before wiring.
Understanding the wiring circuit for a ceiling fan with a 3-way switch

You can wire the 3-way switch wiring in various ways, based on their installation place.
For example, you can place them in a location where the feed cable moves to the first 3-way switch, to the fan, and then to the second 3-way switch.
In the first switch location, the feeder wire from the power source will be a 2-wire cable with a ground connection.
There will be a black hot wire, a white neutral wire, and a green ground wire.
The black wire will be linked to the first switch’s common screw.
The ground wire will be connected to the switch with a pigtail, and the second cable passing to the next switch.
The cable connecting the two switches is a 3-wire cable, and the black and red wires are called the travelers.
They are connected to the traveler screw on the two switches.
It further makes two routes for the hot connection to flow the current between the switches and allows the switches to switch the fans on and off flexibly.
Since the switches do not have neutral connections, the white wires will be connected to let them pass through to the outlet box.
The wiring in the second switch location will be the same as the first switch.
Connect the traveler wires to the traveler terminals from the first switch.
The common screw terminal will connect with the black hot wire to the fan.
Again, the neutral wires will remain joined together.
The ground wires are connected with a pigtail to connect to the switch and the outlet box if it is metal.
The cable run from the fan will need a 2-wire cable with the ground.
Connect the black and white circuit wires to the matching wire leads to complete the wiring at the fan.
The ground will be connected to the fan lead and pigtailed.
It is unclear for some to understand.
That is why most house owners prefer calling an experienced electrician to wire their ceiling fans with a 3-way switch.
Also read: Can You Run 2 Ceiling Fans Off One Controller?
Essential tools and materials for wiring a ceiling fan with a 3-way switch

Ceiling fans are integral to life as they keep us cool in the hot summers.
Wiring a ceiling fan with a 3-way switch is quite complicated.
At the very first, you should prepare yourself to wire the fan with a few essential tools and materials:
- A screwdriver
- Electrical tape
- Voltage tester or multimeter
- 3-way switches
- Wire stripper or cutter
- Utility knife
- Needle-nose Pliers
- 14/3 NM cable
- Remodeling box
A step-by-step guide to wiring a ceiling fan with a 3-way switch

First, know there is no need to approach the project yourself, especially if this is your first time attempting such work.
If you are a beginner, collect the essential tools for the project and call a licensed electrician to do the job.
Wiring a fan with 3-way switches will take a few hours, based on your house’s wall framing.
If you need to remove the drywall, wiring may take 8-12 hours.
If you have made attempts at electrical works before, go through the following steps to wire a ceiling fan with a 3-way switch:
Step 1: Turn off the power
Your first work is to turn off the power at the main circuit breaker to prevent electrocution while working.
Check the voltage with a multimeter or voltage tester to confirm that no power is running through circuits or appliances.
Step 2: Decide the location
You need to find an accessible location for your fan switches.
Place the second switch at a place where you can easily access the cable to the existing fan switch.
Use a stud finder to find and remove obstacles for easy switch access.
Once you find the easy path, find the outline where you need the remodeling boxes inside the wall.
Use a drywall saw to cut an opening and measure the cable amount you need. Use a few extra feet if you need it.
Step 3: Replace the old switch

Start with replacing the old switch with a 3-way switch.
Use a screwdriver and remove the cover plate and unscrew the old switch.
Label the wires that are not connected or hooked to the switch.
Unscrew the grounding wire screw and the cable clamps from inside the electrical box.
Replace the old electrical box with a new remodeling box to mount it on the drywall without opening the wall.
Step 4: Run the cable
Now, time to run the cable.
For open walls:
- Drill a ¾ inch hole between the box locations where the stud is placed.
- Now, run a 14/3 NM cable from one box to the other.
For finished drywalls:
- Use a corded drill to find the path you have located in Step 1.
- Drill the wall through the center of the wall plates and fish the cable through it.
- Leave 18 inches of cable to stick out from each opening.
- Patch the drywall holes after you have finished.
Step 5: Sheath the cable

Put the cable ends inside the new remodeling box from the back and slide it into the opening.
Set and secure the box inside the wall and ensure that around 3 inches of wires are extended outside the box.
Once the box is secured, drill in the screws.
Step 6: Attach the wires to the switch
It is the main part where you will wire the 3-way switch for the ceiling fan.
You will have one cable from the ceiling fan to the original switch and another from the second switch’s location.
Use a knife to expose the wire ends of the cable for wire connection.
You will have a bare or green ground wire, red or black hot wires, and a white neutral wire.
Proper wire connections include the following:
- Connect the black wire from the circuit into one Common terminal. Connect the other switch’s common terminal with the ceiling fan’s hot wire.
- There might be two neutral wires – one from the power source and the other connecting the two switches. Attach the neutrals.
- Attach the red wires from the cable between the 2 switches to the Traveler terminal on both sides of the switch.
- Pigtail and land the green or bare wire on the ground terminal screw in the 3-way switch.
- After connecting the switch, install it to the new remodeling box.
Step 7: Wire the ceiling fan

To install the ceiling fan correctly, you should connect the wires properly with the ceiling’s wires.
Locate the neutral wire in the ceiling and connect it to the ceiling fan wire.
If the fan has extra lights, there will be a blue wire. Connect the blue and black wires of the ceiling fan to the voltage-carrying wire in the ceiling.
Now, connect the ground wire of the ceiling fan with the ground wire in the ceiling.
Tape the wires tightly with the electrical tape, put them back in the ceiling box, and finish the fan installation.
Tips and precautions for safe wiring
If you are doing the project yourself, you should follow a few tips and precautions while wiring a ceiling with a 3-way switch:
- Make sure you have turned off the power at the main breaker. After turning it off, recheck it with a voltage tester or test lamp to confirm that no power is running.
- Connect the wires to their respective terminals and recheck every connection by turning it back and front before you cover the face plate.
- While stripping the insulation to expose the wires, strip only ½ to 1 inch of the wire. More stripping will give you more wires if anything goes wrong, but ensure you don’t strip too much.
- Secure the wires with a nut and tuck them inside the box to prevent them from contacting the wrong materials or wires.
- Always wear protective glasses, goggles, and gloves.
- Use mounting or remodeling boxes approved only for ceiling fans.
- Follow the specific instruction manual for safe wiring and installation.
- Do not use a 2-wire conductor in the place of a 3-wire conductor and vice versa.
- Use the red wires of both the 3-way switches as the traveler wire.
Troubleshooting common problems with wiring a ceiling fan with a 3-way switch
While wiring a ceiling fan with a 3-way switch, you may face a few problems, like problems in the wiring or the switch not working.
When a switch fails, the fan switch will be toggled on and off at one switch, but the other one won’t work.
If the problem is in the wiring, the switch may toggle, but the ceiling fan will not work.
To troubleshoot such common issues, follow the following steps:
- Turn off the power at the breaker and use a tester to confirm the power is off.
- Remove the two 3-way switches and access the switch terminals.
- Do not remove any wire connections. Instead, check the wire connections.
- Use a tester and check the continuity between the common terminal and each traveler terminal in the 3-way switch.
- If there is an issue, the tester won’t show any continuity.
- Check the wire connections again. Go through the steps mentioned above and cross-check with the wire connections in your ceiling fan switch.
- If the problem is in the switch, replace and rewire the switch.
- If the hook at the wire’s end opens up while you remove the old switch, use a needle-nose plier to curl it back in a J-shape.
- Make correct wire connections, and turn back the power.
- If there is still a problem, call an electrician.
Final thoughts
Wiring a ceiling fan with a 3-way switch can be quite complicated, especially if you have never attempted such projects before. A 3-way switch will give your ceiling fan two switches at two locations – one will be the regular one, and the other will be located where you can easily access it.
To wire a ceiling with a 3-way switch, turn off the power, replace the old switch with the new 3-way switch, run cables according to the wall type (open walls or finished drywalls) and sheath them, attach the wires to the correct terminals, secure the wires will wire nuts, wire the ceiling fan, secure the wires with electrical tape and put them in the box, and test the fan.
You might face issues wiring the fan, like the switch not working or the fan not rotating. Recheck the wire connections and correct them in that case. If the problem is in the switch, replace it. Follow the precautions and tips for safe wiring. If something goes wrong, call an electrician.
Can I wire a fan with a light on the same switch?
If your ceiling fan with light has a separate wire for the light and fan, you can connect them with the same switch.
What wire do I need to wire the fan and the light?
Use a 3-conductor wire measuring 14/3. You can get it from any home improvement store in your locality.
Reference: 3-way switching Wikipedia