It is enough to ruin your mood when you crave a chilled drink and open a refrigerator that doesn’t cool. If your refrigerator is not cooling, you must promptly fix the issue. This article is the right place to find answers to fix your Kenmore elite refrigerator that is not cooling.
A dirty condenser coil may prevent air circulation and stop the refrigerator from getting cold. Clean the condenser coil with a vacuum to fix the issue. A refrigerator may also not cool due to a faulty temperature control thermostat. To fix the issue, you must replace the thermostat.
There can be other issues that prevent your Kenmore Elite refrigerator from cooling. In this article, I will help you figure out the cause, and you will also know the steps to fix the issue. So, stick with the article till the end.
Check out our list of top-handpicked products for all your electrical, appliance, and HVAC system needs to keep your home running smoothly.
This post includes some affiliate links.Causes of Kenmore refrigerator not cooling
If your refrigerator is not cooling, there may be several reasons.
Here are some common causes and fixes to make your refrigerator start cooling again.
1. Dirty condenser coils
Condenser coils are located at the base grill of the refrigerator under the refrigerator.
The role of the condenser coil is to cool the refrigerator’s interior.
It maintains the temperature inside the fridge and freezer by pushing the heat outside the refrigerator.
If the condenser coils accumulate with dirt and debris, they will not expel the heat to maintain the temperature in the refrigerator.
If your refrigerator is not cooling, it may be due to the dirty condenser coils.
To fix this issue, check the refrigerator’s condenser coil.
You must replace the refrigerator’s condenser coil if they are completely damaged.
Follow the steps below to clean the condenser coils on the refrigerators:
- Start by unplugging the refrigerator’s power cord from the electric outlet. You don’t have to unload content inside the refrigerator while doing this process, as the refrigerator will retain its temperature during this short duration while cleaning the condenser coils.
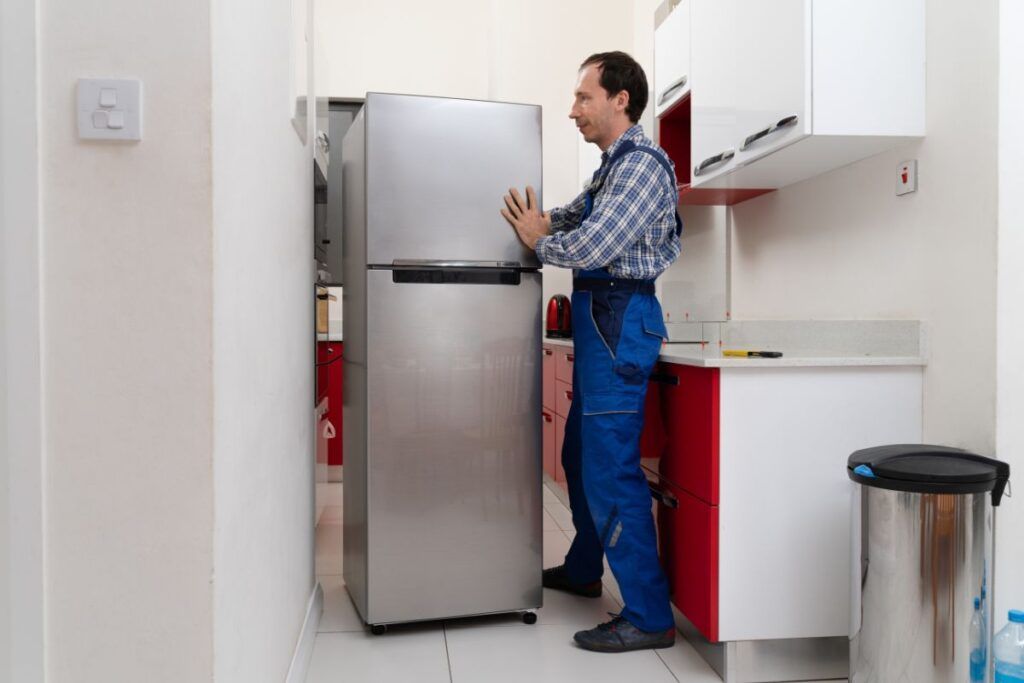
- Move your refrigerator away from the wall to access the back side of the refrigerator. As refrigerators are heavy appliances, don’t try to move them alone. Consider seeking help from an assistant to move the refrigerator.
- Access the back panel of the refrigerator. Using a screwdriver, remove the screws securing the back panel. Disconnect the back panel and keep it in a safer place.
- You can locate the condenser coil in the left corner. Inspect the condenser coil for any visible dirt and dust.
- You will need a vacuum and a soft bristle brush to remove the overlapping dust and debris.
- Brush the condenser coils’ top, bottom, and sides to remove the dust. Use a vacuum to suck the dust deposited inside the condenser coil.
- If you find the condenser coil damaged, replace it.
- Reattach the back panel to the refrigerator by securing it with the screws.
- Move the refrigerator to its original position.
- Plug in the refrigerator by connecting the power cord to the electric outlet.
2. Condenser fan motor issues

You can find the Condenser fan motors at the bottom of the refrigerator.
You can locate it behind the rear access panel below the compressor and the condenser coils.
The important role of condenser fan motors is to absorb the air from the rear side of the refrigerator to circulate the cool air to the compressor and condenser coil.
After cooling the compressor and condenser coils, the condenser fan motor also circulates the cold air throughout the grill.
If the condenser fan motor is damaged, your refrigerator may not cool.
Check the condenser fan blades to determine if the motor is worn out.
You can check it by spinning the condenser fan blades with your hands; if there is any obstruction while rotating the fan blades, the motor is worn out.
You should also check the condenser fan motor with the multimeter to check the continuity.
If the motor doesn’t show continuity, you must replace it.
To fix this issue, you need to replace the condenser fan motor.
Follow the steps below to replace the condenser fan motor:
- Unplug the refrigerator by removing the power cord from the electric outlet.
- Move your refrigerator away from its original position to access the rear panel.
- Locate the rear panel in the refrigerator. Remove the screws securing the rear panel with the refrigerator using a screwdriver. Disconnect the rear panel and keep it aside.
- Locate the front base screw securing the base of the fan motor bracket.
- Using a wrench, remove the front base screw from the base of the fan motor bracket.
- Locate the mounting screws at the upper side, which holds the condenser fan motor.
- Remove the mounting screws to disconnect the condenser fan motor.
- Disconnect the condenser fan motor from the bracket and disconnect the wire harness.
- Now, you can pull the fan motor completely.
- Remove the fan blade from the bracket.
- Prepare the new condenser fan motor, place it in the bracket, and secure it with the mounting screws.
- Connect the wire harness and fix the blades with the new motor.
- Reconnect the bracket screws at the base of the refrigerator.
- Reconnect the rear panel by securing it with the screws.
- Move the refrigerator to its original position.
- Reconnect the refrigerator to the electric outlet or turn on the circuit breaker.
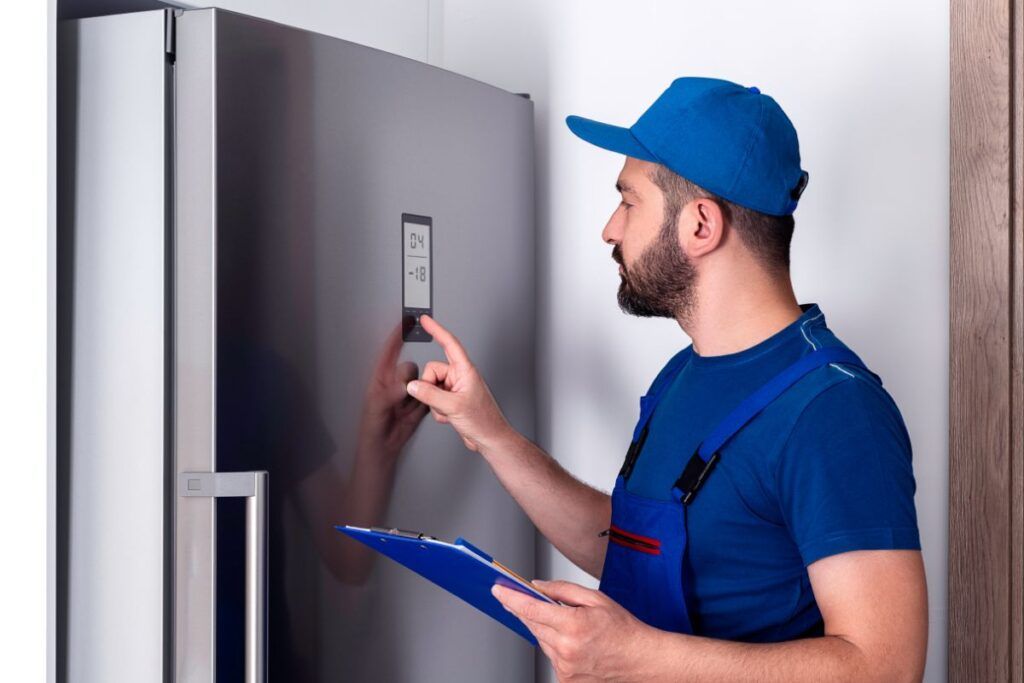
3. Faulty temperature control thermostat

The thermostat regulates the temperature of the refrigerator’s interior and monitors the cooling mechanism by turning it on and off the compressor.
It is regulated by the sensor, which signals the temperature status of the refrigerator.
If the sensor senses the refrigerator is too cold, a thermostat will switch off the compressor.
If it senses the refrigerator has not reached the optimum temperature, a thermostat will turn on the compressor.
If the temperature control thermostat fails, the temperature regulation of the refrigerator will be disturbed.
You can try adjusting the thermostat knob to the desired temperature.
Adjusting the thermostat reading will bring the refrigerator back to cold condition if the thermostat is not damaged.
If not, you must replace the thermostat, which is located inside the refrigerator.
Follow the steps below to replace the temperature control thermostat from your Kenmore elite refrigerator:
- Unplug the refrigerator from the electric outlet or turn off the circuit breaker if your refrigerator is hard-wired.
- Suppose you load the refrigerator with highly perishable food. In that case, it is advisable to unload the content from the refrigerator. The refrigerator will stay disconnected for 30-40 minutes when replacing the thermostat, so the content inside the refrigerator may spoil.
- Locate the thermostat adjuster knob. Pull it and place it in a safer place.
- Locate the control housing of the refrigerator. The location of the control housing differs based on the model of the Kenmore refrigerator.
- Disconnect the control housing from the refrigerator by removing the screws that are securing it with the upper compartment of the refrigerator. Hold the control housing so it won’t fall when you remove the last screw.
- You can locate the temperature control thermostat inside the control housing. Release it from the bracket holding it in place and disconnect the wire harness. If possible, capture the wire connections on your phone for future reference.
- Purchase the new temperature control thermostat following the model of your refrigerator.
- Attach the new temperature control thermostat to the control housing. Secure it with the brackets and reconnect the wire you disconnected by referring to the photo you took.
- Reattach the control housing to the refrigerator and secure it with the screws using a screwdriver.
- Reattach the knob inside the refrigerator and check if it is positioned correctly.
- Plug in the refrigerator by connecting the power cord to the electric outlet or turn on the circuit breaker if your refrigerator is hard-wired.
4. Faulty temperature control board
A temperature control board is originally known as the main control board.
You can find this temperature control board on the back side of the refrigerator, exactly near the compressor.
A temperature control board will initiate the cooling mechanism of the refrigerator by monitoring the sensor and initiating the functions of the compressor and the condenser fans to circulate the cool air throughout the refrigerator.
If the temperature control board is faulty, the entire cooling mechanism will get hindered.
If the temperature control board is faulty, you must replace it.
Follow the steps below to replace the temperature control board:
- Unplug the refrigerator from the electric outlet. Turn off the circuit breaker if your refrigerator is hard-wired.
- Turn off the water supply valve of the ice maker.
- Disconnect the water supply line. As the water supply pipe is located at the back side of the refrigerator, you need to move the refrigerator forward to access it. If the refrigerator has a wheel, you can move it by yourself or else seek help from your assistant to move the refrigerator.
- Locate the water supply line at the back side of the refrigerator. Using a wrench, remove the nut securing the water supply line.
- Remove the back panel of the refrigerator by removing the screws attaching the panel to the refrigerator.
- You can see a cover enclosing the temperature control board housing. Remove the screws securing the cover to the housing using a screwdriver.
- Take a digital picture of the temperature control connections for future reference. Or you can paste the tags on the wires.
- Disconnect the temperature control board by removing the screws and locking clips.
- Prepare the new control board to replace.
- Place the new control board in the housing unit and secure it with the mounting screws and the locking clips.
- Reconnect the wires by referring to the digital photo you took.
- Reconnect the temperature control board cover by securing it with the screws.
- Reattach the back panel of the refrigerator and secure it with the screws using a screwdriver.
- Reattach the water supply line pipe to the refrigerator and tighten it with the nut.
- Plug in the refrigerator or turn on the circuit breaker if your refrigerator is hard-wired.
- Turn on the water supply valve to the ice maker.
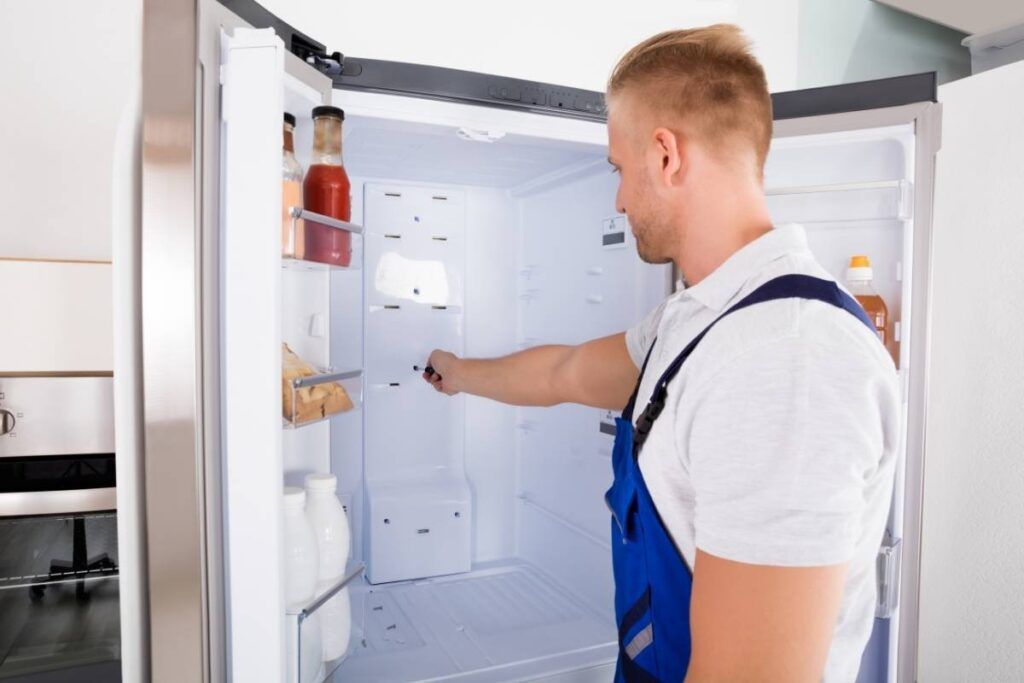
5. Damper control issues

The air damper is inside the refrigerator, which facilitates the entry of cold air from the freezer to the refrigerator compartment by opening and closing the doors.
If the damper is stuck closed, cold air from the freezer won’t circulate throughout the refrigerator.
Resulting in the refrigerator that doesn’t get cold enough.
To fix this issue, you must replace the damper.
Follow the steps below to replace the damper control in your refrigerator:
- Disconnect the power supply from the refrigerator by removing the power cord or turning off the circuit breaker.
- Proceed by turning off the water supply valve supplying water to the water pipeline located at the back side of the refrigerator.
- Locate the control box in the top compartment of your refrigerator.
- Disconnect the control box by removing the screws which secure it to the refrigerator. To disconnect the control box completely, you need to disconnect the wire harness, yellow wires, and the temperature sensor.
- Disconnect the bulb by twisting it with your hands.
- Place the control box in a comfortable place.
- You can find the damper assembly on the left side of the control box.
- Pull the damper assembly from the control box and disconnect the notch and the grounding wire.
- Remove the door of the damper assembly from the control box.
- Replace the new damper assembly with the control box. Reconnect the notch and the grounding wire to the new damper assembly.
- Reinstall the control box in the refrigerator by placing the temperature sensor in the slot and connecting the wires.
- And pull the control box to its place and secure it with the screws. Reattach the bulb by twisting it tight with its holder.
- Plug in the refrigerator or turn on the circuit breaker. Turn on the water supply and reattach the supply line at the back side of the refrigerator.
How do I reset the Kenmore refrigerator compressor?
If your Kenmore refrigerator is not cooling, you can also try resetting the compressor.
A reset can help your refrigerator return to its original cooling condition.
Follow the steps below to reset the refrigerator’s compressor:
- Disconnect the refrigerator from the power supply.
- Let it stay disconnected for at least 10 minutes.
- Switch the freezer and refrigerator temperatures to zero by adjusting the reading in the control panel.
- Plug in the refrigerator by connecting the power cord to the electric outlet.
- As a next step, adjust the temperature of the freezer and the refrigerator to 40°F.
How long will the Kenmore Elite refrigerator take to start cooling again?
When you adjust the temperature or replace the faulty parts, a refrigerator will start cooling again for at least 24 hours.
Final thoughts
A refrigerator not cooling, is mostly due to the dirty condenser coil. You can fix the issue by cleaning the condenser coil using a vacuum. Check the condenser fan motors if your refrigerator is not cooling even after cleaning the condenser coil.
You can check it by spinning the fan blades with your hands; if the fan doesn’t spin without obstruction, you must replace the condenser fan motor. Go through the causes I mentioned in the article to figure out the issue in your refrigerator.
Once you have figured out the cause, follow the step to fix the refrigerator issue. Seek help from a professional if you find the steps too technical.
Related Articles:
- Frigidaire Refrigerator Not Cooling But Freezer Works: 5 Quick Fix
- Samsung Refrigerator Not Cooling But Freezer Works: Fix
- Refrigerator Power Cord Too Short: Quick Fix
- Whirlpool Refrigerator Light Flashing: 6 Causes+Fix
- How To Reset Frigidaire Refrigerator
- How To Reset LG Refrigerator? (7 Easy Steps)
- How To Reset Whirlpool Refrigerator? (6 Easy Steps)
- How To Reset Samsung Refrigerator? (5 Easy Steps)
Reference: Kenmore Refrigerator Official Manual.