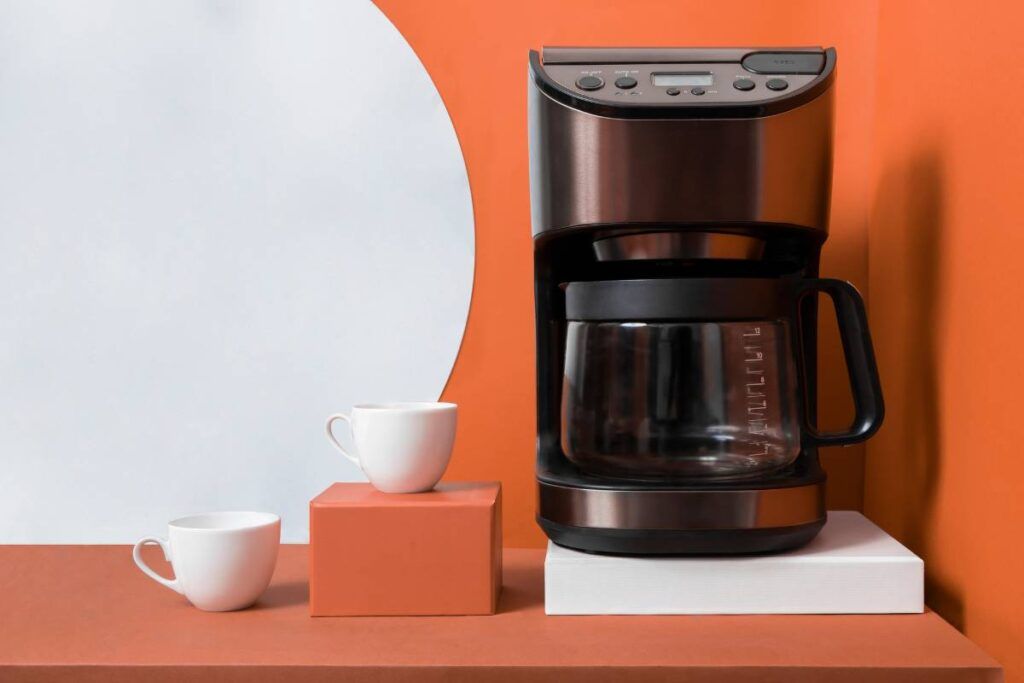
Keurig is the creative invention to enjoy a flavourful cup of coffee and other drinks in just a click. It is the best machine for preparing a tasty cup of coffee. But if your Keurig stops amid the brewing cycle with the flashing lights, you are at the right place.
A red light flashing indicates that your Keurig coffee maker has accumulated dirt and needs a descaling. To fix this issue, you must descale the machine with the cleaning solution. Sometimes you may notice a blue light flashing when the water reservoir is low; refill the water to fix that.
This article will discuss the causes of flashing lights and the steps to fix the issue. So, keep reading.
Check out our list of top-handpicked products for all your electrical, appliance, and HVAC system needs to keep your home running smoothly.
This post includes some affiliate links.How does Keurig work?
Keurig coffee machines come with K-cups, which hold different flavors.
It enables individuals to choose their favorite flavors of coffee instead of boring ones.
K-cups have coffee pods to brew different flavors of coffee and dedicated pods for tea and chocolate drinks.
They are disposable cups with foil sealing at the top.
Inside the K-cups, ground coffee and filter are added.
They are sealed after expelling the oxygen completely.
As the K-cups are devoid of oxygen, it retains the flavor to produce high-quality coffee by reducing exposure to moisture.
It is not to deny that Keurig is the best choice to make coffee faster with just a click.
If you are a regular user of Keurig, it is well known that when K-cups are attached to the brewer, it makes a hole in the cup to pour the hot water to reach the ground coffee.
Through another hole, a beverage travels to the filter.
And finally, the coffee pours into your cup through the last hole made in the K-cup.
Unlike drip coffee, Keurig has a water reservoir and has hot water ready almost all the time.
It is the feature that makes the Keurig the fastest coffee brewer machine.
Why is my Keurig flashing lights? (+Quick fix)
Seeing the red, blue, and other lights blowing in the Keurig is normal.
But if they are frequently flashing, it may be due to several causes.
Here are 8 reasons why lights are flashing in your Keurig, and you can fix them.
1. Your Keurig has accumulated dirt

As Keurig coffee makers are used daily, they are prone to dirt and debris accumulation.
A Keurig descaling red light will start flashing if the dirt accumulation exceeds the limits.
When you notice a red light flashing frequently, you must understand that your device needs immediate descaling.
The most common reason for the dirt accumulation on the Keurig is the usage of hard water to brew the coffee.
The other common reason includes the deposition of the ground coffee in the machine when left uncleaned for a longer time.
At times, dirt particles are deposited in the interior of the Keurig, which will prevent the machine from starting as those dirt particles clog the machine.
You can eliminate this issue by cleaning the Keurig coffee maker at least once weekly.
Follow the steps below to descale your Keurig coffee maker:
- Begin by disconnecting the Keurig from the electric supply by removing the power cord from the electric outlet.
- Detach all the removable parts from the Keurig. You can remove the coffee maker’s K-cup holder, lid, water reservoir, and mug.
- You can prepare a cleaning solution with white vinegar. Mix the white vinegar with water in a bowl and soak all the parts in the cleaning solution for 30 minutes. You can also purchase a Keurig descaling solution for effective cleaning.
- After 30 minutes, clean all the removable parts with a brush and dry them completely.
- Take a clean cotton cloth and dip it in soapy water. Wipe the machine’s exterior surface with this soft cloth.
- Attach all the parts to the machine and switch it on after attaching the power cord to the electric outlet.
- Fill the water reservoir with the vinegar up to half full and fill the remaining half with water.
- Begin the brewing cycle without attaching the K-cup.
- Keep repeating the brewing cycle until the water reservoir filled with the vinegar is empty. Doing this will remove the dirt and deposition from the machine.
- Begin the second cycle by filling the reservoir with water to remove the vinegar residue.
Now your Keurig is descaled successfully.
You make the coffee as usual.
2. Check if the reusable K-cups are sealed tight

A red light will frequently flash if you use reusable K-cups instead of regular K-cups and you excessively tighten the cup.
It is because you may have sealed the cup too tight.
Doing this will cause a lump in the ground coffee, making the reservoir water hard to pass.
A Keurig will recognize this as a clog in the pipes, resulting in the flashing red light.
To fix this issue, next time you use reusable K-cups, you must only fill the ground coffee up to the mark and avoid twisting it too tight.
Following this, make the water pass the K-cups without any hindrance.
3. Check the exit needle

The bump in the K-cup may clog the exit needle.
If the exit needle is clogged, it will block the water flow.
This blockage will make it difficult to brew hot drinks and coffee.
To fix this issue, you must clear the clog in the exit needle.
Follow the steps below to clean the exit needle:
- Unplug the Keurig from the electric outlet to prevent yourself from the electric shocks.
- Disconnect the pod holder from the Keurig. You need to lift the handle and twist the pod holder to remove it from the machine.
- The next step is to separate the funnel from the top of the pod holder. The funnel is the part that comes below the pod holder.
- Twist the pod holder firmly to separate the funnel from the top piece.
- If you find it difficult to separate them, you can soak them in hot water to disconnect them easily.
- You can locate the needle by flipping the pod holder upright.
- Keep the paper clip handy to clean the tube. Insert the paper clip into the tube and clean it for 30 -60 seconds. Remove all the clogs in the exit needle by moving the paper clip around.
- Keep the pod holder and funnel under the running water to rinse them thoroughly. Grab them in your hands and rinse them in the tap water.
- Wipe the pod holder and the funnel with the cotton cloth. Please keep them open to get rid of all the moisture.
- Reconnect the pod holder and funnel together by twisting them tight.
- Position it on the machine and align them with the tabs.
- Plug the Keurig into the electric outlet. Run the brewing cycle with plain water.
4. The water reservoir of Keurig is low
The Keurig requires at least a minimum amount of water in the water reservoir to brew the coffee.
If the water is low in the reservoir, a blue light will start flashing, and the brewing cycle won’t start.
It is simple to fix this issue.
All you need to do is fill the reservoir with fresh water.
If your machine is still flashing blue, switch it on and off and check if the blue light stopped flashing.
5. A mispositioned water filter

If the lights are flashing in the Keurig, another reason would be a water filter not installed correctly.
Sometimes, a Keurig will not start if the water filter is misaligned.
Also, you must change the water filter every two months.
Follow the steps below to replace the water filter correctly:
- Begin by disconnecting the power supply from the Keurig coffee maker.
- The water filter is located on the left side in most Keurig models. You can access the water filter only after removing the top of the machine.
- Open the top of the Keurig machine and access the water reservoir.
- You can find the filter unit next to the water reservoir.
- Pull the filter unit out by removing the water reservoir holder.
- Separate the filter holder and the filter by twisting the tabs holding the filter with the filter holder.
- Discard the used filter in the trash can.
- Buy the new filter depending on the model of your Keurig.
- You must not attach the filter immediately after the purchase. Soak the filters in the bowl of water for 10 to 15 minutes.
- After soaking the filter in a water bowl, rinse it in the running water for 60 seconds.
- Rinse the filter holder in the running water. A filter holder will have a mesh, and rinsing it will remove dirt and dust accumulation.
- Attach the filter and the filter holder by aligning them with the tabs.
- Set the remainder for replacement of the water filter after 2 months. Go to settings, and choose a water filter reminder. Select the enable option and set the time duration for 2 months.
- Reattach the water filter unit to the water reservoir.
- Close the top of the machine and connect the machine to the power supply. Check if the flashing of lights has stopped.
6. Check the magnet inside the water reservoir
If your Keurig is flashing red continuously, it may be due to the mispositioned magnet inside the water reservoir.
Due to the vibration caused in the machine while brewing the coffee, a magnet may move from its position.
A Keurig will stop amidst the brewing cycle if the magnet is mispositioned.
You can fix this issue by following the steps below:
- Disconnect the power supply from the device.
- Disconnect the water reservoir from the machine by pushing it in a vertical position.
- The magnet is black and positioned in the water reservoir’s middle.
- Remove the lid of the water reservoir and adjust the position of the water reservoir manually.
- Lock the magnet in its position firmly.
- Now the red light will stop flashing.
7. Check if the heat-up mode is activated on your Keurig

If the heat-up mode is activated and your Keurig is stuck in a heat-up mode, the red light will start flashing.
To fix this issue, you must get the machine out of the heat-up mode.
Follow the steps below to reset the heat-up mode in your Keurig machine:
- Switch off your Keurig machine and disconnect the power cord from the electric outlet.
- Detach the water reservoir from the machine.
- Let it stay disconnected from the power supply for 5 minutes.
- Repeat the process.
- Reattach the water reservoir to the machine.
- Plug in the machine and long-press the menu button.
- Now your machine will be free of heat-up mode.
8. The flashing of frother lights in the Keurig
If you try to froth the milk while the coffee is brewing, lights will start flashing because you can froth the milk only after the brewing cycle.
Sometimes all the lights at the base will start flashing for the following reasons:
- Check if the milk frother base is attached firmly to the machine.
- Check if the frother holds the whisk firmly.
- Check if the milk frother is not overloaded and underloaded. Either of the situations will cause the flashing of lights.
You can fix this issue by firmly attaching the machine’s whisk and milk froth base.
Load the milk in the froth only up to the marked level and avoid overloading it.
How do you reset the blinking descale light on a Keurig supreme?
When the descaling light blinks in your Keurig machine, it communicates that it needs a descale.
Follow the steps I mentioned earlier to descale the Keurig coffee machine.
After descaling, you must simultaneously press the 8oz and 10oz buttons for 5 seconds to reset the blinking descaling light.
How long do Keurigs usually last?
The lifespan of Keurig depends on several factors. One such important factor is how often you use the Keurig.
If you brew 5 to 6 cups daily, a Keurig will last up to 3 to 5 years.
If taken properly, the lifespan of Keurig will increase.
To use the Keurig for a long period, you must clean and maintain it regularly.
Final thoughts
If the lights frequently flash in your Keurig, it may be due to the causes mentioned in the article. Figure out the cause and follow the step-by-step process to fix the issue. A red light flashes when your machine is accumulated with dirt and debris. To fix the issue, you need to descale the Keurig with the vinegar solution and reset the flashing light.
Follow the steps mentioned in the article to descale your machine. The water filter in the water reservoir is trapped with waste in the long run. So, changing the water filter once every 2 months is important.
You can replace the water filter by following the steps mentioned in the article. You can also expand the lifespan of a Keurig by cleaning it regularly. While using the Keurig, ensure you follow the instructions mentioned in the owner’s manual to increase efficiency.
Reference: Keurig Official Manual.