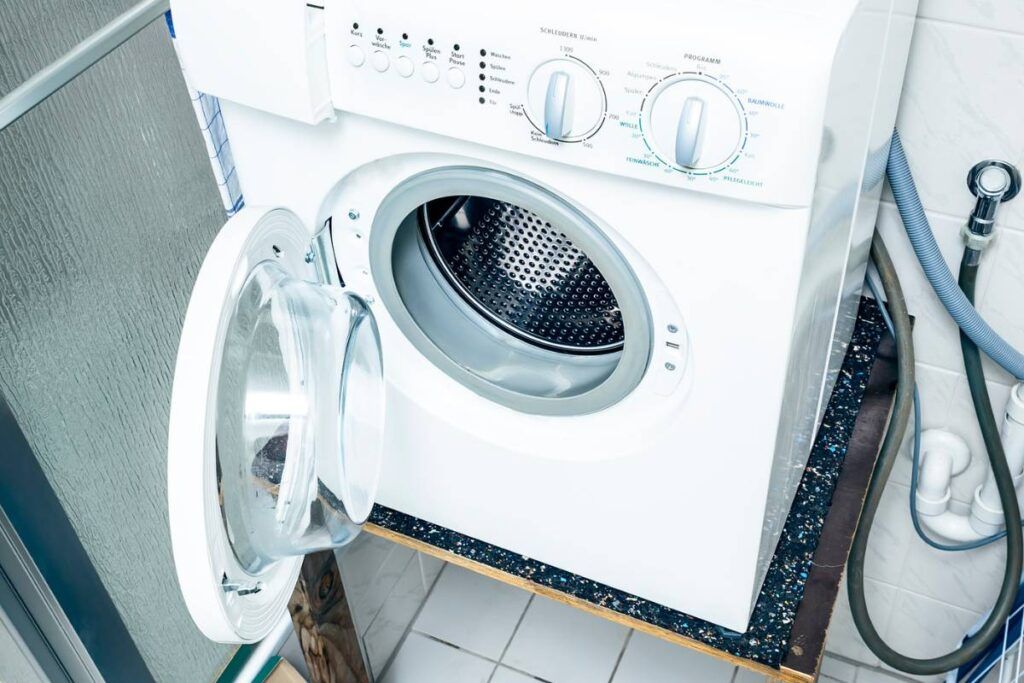
It is common to notice mild noise in the washing machine during the washing and spinning cycle. But if the noise is loud and vigorous, there might be faults in the internal parts. If you want to know the causes of loud noises in your washing machine at the end of the spin cycle, you are at the right place.
A worn-out shock absorbent or damaged suspension rod will cause a loud noise at the end of the spinning cycle. You must replace the shock absorbents or suspension rods if needed. If the washer is on an unlevel surface, it can also cause a banging noise. Adjust the washer’s leg to reduce the noise.
In this article, I will explain 6 common causes and steps to fix the issue. So, keep reading.

Check out our list of top-handpicked products for all your electrical, appliance, and HVAC system needs to keep your home running smoothly.
This post includes some affiliate links.Why is my washing machine making loud noises at the end of the spin cycle?
It is annoying to have a washing machine producing a loud banging noise at the end of the spinning cycle.
There can be several reasons behind the loud noise.
Here are the 6 common reasons and steps to fix the issue:
1. Worn-out shock absorbents
In front-load washing machines, shock absorbers are attached between the washer’s drum and base.
Shock absorbers help to keep the drum balanced during the wash and spin cycle.
If the shock absorbents are damaged or worn out, the drum will hit the washer’s body, causing a loud banging noise.
It will also cause damage to the washing machine, and you will have to replace the entire washer if it is left unbothered for a long time.
To fix this issue, you must replace the shock absorbents.
Follow the steps to replace the shock absorbents:
- Unplug the washer from the electric outlet to avoid electrical elocution.
- Turn off the hot and cold water supply valves.
- Disconnect the drain hose and water supply lines from the washer.
- Move the washer from its position and place it in a comfortable place to replace the shock absorbents.
- Access the back panel of the washer to remove the upper back panel.
- Remove the screws securing the upper back panel and set it aside.
- Using a putty knife, lift the top panel by unlocking the locking tabs.
- You don’t have to disconnect the top panel. Lift and secure it from getting closed by hinging it with the rod.
- Once you open the top cover, you can locate the 4 shock absorbers attached to the washer’s drum.
- Detach the spring from the shock absorber by lifting the shock absorbers from the hole.
- Follow the same process to detach all 4 shock absorbers from the hole and secure the shock absorber to the washer’s steel wall.
- Close the top panel and lock it with the tabs.
- Tilt the washer to the side and access the lower panel to remove the faulty shock absorbers.
- Unscrew the bolts securing the bottom panel and place the bottom panel aside.
- Once you remove the bottom panel, disconnect the shock absorbers and replace them with new ones.
- Realign the bottom panel and secure it with the bolts.
- Return the washer to the upright position.
- Secure the upper back panel with the screws.
- Secure the top panel with the locking tabs.
- Move the washer to its original position and reconnect the drain hose and water supply valves.
- Plug in the washer and check if the washer is still making loud noises during the spin cycle.
2. Damaged suspension rods

Suspension rods are located in the top-loading washing machine.
It supports the rotation of the drum in the washer.
The suspension rod will wear out if frequently used in the long run.
If the suspension rods are faulty, a washer will produce vigorous noise.
You can replace the suspension rods to put an end to the excess noise in the washing machine.
Follow the steps below to replace the suspension rod:
- Unplug the washer from the electric outlet to prevent yourself from the electric outlet.
- Turn off the water supply valve and disconnect the drain hose and water supply line.
- Move the washer from its original position to work in comfort.
- Access the front panel of the washer and remove it by unthreading the screws.
- Remove the top panel by removing the screws securing it. Consider referring to the user manual to locate the screws.
- After removing the front and top panels, you can locate the suspension rods.
- Detach the suspension rod from the hinges and let them set free.
- Remove the faulty suspension rod and replace it with the new one.
- Secure the new suspension rod with the tabs and hinges.
- Reattach the top and front panels. Secure them with screws.
- Plug in the washer and begin the washing cycle.
3. A faulty rear bearing

The rear bearings are located at the back of the front load washing machine and the bottom of the top loading machine.
They are made of small meal balls arranged in a ring shape.
The main function of the rear bearing is to support the washer’s drum rotation and prevent the washer from getting off-balanced.
If the rear bearings are worn out, it will cause heavy noises during the spin cycle.
Follow the steps below to replace the rear bearing (applicable for front load washing machine):
As replacing the rear bearing involves dismantling the washer, do it only if you are experienced with the electrical appliance.
- Disconnect the washer from the power supply.
- Turn off the cold and hot water supply valves.
- Disconnect the drain hose and water supply lines from the washer.
- Move the washer from its original position to work comfortably.
- Detach the top panel by unthreading the screws securing it.
- Detach the detergent drawer from the washing machine and set it aside.
- Remove the control panel by unlocking the tabs using a putty knife.
- You can see wires attached to the control panel. Take a digital photo of the wires for future reference.
- Remove the door sealing by pushing the retaining clip out.
- Access the front panel of the washer and remove the screws securing it. And disconnect the wire harness. Set the front panel aside.
- Access the rear panel, remove the screws securing it, and place it aside.
- Using a wrench, remove the drum motor by turning the bolt in the center anticlockwise.
- Disconnect the pulley and the belt of the washing machine if it is not a direct drive machine.
- Please take a photo of the wire connections before disconnecting them.
- Disconnect the plastic cover surrounding the drum by removing the screws.
- Remove the dampers attached to the drum.
- Detach the springs connected to the drum to lift the washer’s drum.
- Place the drum onto the soft cloth and remove the screws attaching the two parts of the drum.
- Release one half of the drum from the other.
- Using a hammer, tap on the bearing to remove the rear bearing from the washer.
- Remove the healing element from the tub to lay down the tub.
- Remove the rear bearing and clean the slot with the penetrating liquid.
- Disconnect the inner bearing using a drift.
- Replace the bearing and securing by pushing it in place.
- Change the tub sealing to prevent leakage.
- Place the drum into the tub and attach the other half of the tub.
- Secure two parts of the drum using screws.
- Move the tub inside the washer and secure them with the hinges and spring.
- Reattach the damper and secure them tightly.
- Reattach the plastic panels to the washer’s drum.
- Reattach the front panel of the washer and secure it with screws.
- Reattach the control panel, secure it with screws, and make necessary wire connections by referring to the photo.
- Reposition the door seal and secure it with the retaining clip.
- Reattach the detergent drawer and secure it.
- Reattach the motor to the drum and make the necessary wire connections.
- Reattach the heating element and secure it in place.
- Reattach the wire connections referring to the photo you took.
- Reattach the rear panel of the washer and secure it with the screws.
- Reattach the top panel and secure it with screws.
- Reattach the drain hose and water supply line.
- Turn on the cold and hot water valves.
- Plug in the washer and check if the washer has stopped producing noises during the spin cycle.
4. Your washer is placed on the unlevel surface
When the washing machine is placed on an unlevel surface, it vibrates excessively.
In the long run, it will damage the machine’s internal parts, leading to loud noise.
It is important to place the washing machine on a leveled surface to avoid faults.
Follow the steps below to level the washing machine:
- Place the bubble level on the washing machine. If the bubble level is not centered, your washing machine is not placed on the leveled surface.
- You must move the washing machine to the leveled surface or adjust the washer’s leg.
- Access the washer’s leg, using a wrench to adjust the legs to bring the balance to the washing machine.
- Or else experts advise installing the hardware flooring to maintain the balance of the washer.
- Uneven clothes distribution in the washer’s drum.
- It is common for people to overload clothes in the washer’s drum to get done with laundry in less time.
- Another common issue is stuffing heavy clothes like towels and blankets and daily usage clothes.
- Doing this will extend the time of the washing cycle and lead to a hike in utility bills.
- When you stuff the clothes in the drum without order, the tub will hit the washer’s wall during the spin cycle and cause loud noises.
- Also, when you load heavy clothes, they take up more space and absorb more water, leading to an off-balanced state in the washer.
- To fix this issue, pause the cycle, manually remove the heavy clothes, and spread the clothes evenly around the agitator if you have a top-load washer.
5. A belt around the drum may have worn out

A washer spins the drum with the help of a motor.
There is a belt attached to the drum from the motor.
A belt supports the drum’s rotation and helps in the smooth spinning cycle.
If you hear the loud noises at the end of the spinning cycle, it must be due to the worn-out belt.
If the belt is worn out, the washer’s drum will move unevenly and start hitting the washer’s body.
You must replace the belt around the drum and motor to fix this issue.
You must have experience working with electric appliances and sound technical knowledge to do this replacement.
Or you can hire a professional to do this job.
Follow the steps below to replace the drum belt:
- Unplug the washer from the electrical outlet.
- Turn off the hot and cold water supply valves.
- Disconnect the drain hose and water supply lines.
- Remove the back panel of the washing machine by unthreading the screws securing it.
- As soon as you remove the back panel, you can see the belt going around through the pulley.
- Push the old belt with your hands.
- Purchase the new belt depending on the model of your washer.
- Replace the new belt and put it around the pulley.
- Reattach the rear panel and secure it with screws.
- Reattach the drain hose and water supply pipes.
- Turn on the hot and cold water supply valves.
- Plug in the washer and check if the loud noise at the end of the spinning cycle is resolved.
6. Worn-out drive pulley

The Drive pulley is located at the back side of the washing machine.
It is attached to the back side of the drum to support its rotation.
If the drive pulley is worn out, the smooth rotation of the drum will be disturbed.
It produces a loud noise at the end of the spinning cycle.
You can fix this issue by replacing the drive pulley.
Follow the steps below to replace the drive pulley:
- Unplug the washer from the electric outlet to prevent yourself from electrical hazards.
- Turn off both the hot and cold water supply valves.
- Disconnect the drain hose and the water supply lines.
- Move the washer forward to access the back panel.
- Remove the back panel by unthreading the screws.
- Rotate the drive pulley to remove the belt from it.
- Remove the bolt at the center using a wrench to detach the drive pulley.
- Replace the new drive pulley and secure it with the bolt.
- Reattach the belt and align it with the slot.
- Reattach the rear panel and secure it with the screws.
What is the average life of a washing machine?
A washing machine lasts from 10 to 15 years.
The life span of the washing machine highly depends on how well you maintain it.
If you are not maintaining it well, a washing machine will be prone to constant faults and repairs.
To extend the washer’s lifespan, you must clean it regularly to remove the dirt built up in the drum.
You must also place the washer on the leveled surface to maintain balance during the wash and spin cycle.
Final thoughts
If your washer makes a loud noise at the end of the spinning cycle, it must be due to faulty parts. In the article, 6 common causes and steps to fix the issues have been discussed.
One of the main causes of the loud noises is the worn-out shock absorbent causing the off-balance at the end of the spinning cycle. You must replace the shock absorbent to fix the issue. Other common causes are placing the washer on an unlevel surface and uneven loading of clothes in the washer’s drum.
Before placing the washer, you must check the surface with the bubble level. Or else you must adjust the washer’s leg. While loading the washing machine, you must know your washer’s drum capacity and load accordingly.
Related articles:
- Can You Put Detergent Directly On Clothes? (+The Correct Way)
- Can You Run A Washing Machine With A Generator?
- 6 Ways To Fix Loose Drum In Washing Machine
- 6 Reasons Your Washer Shake Really Bad (+Fix)
Reference: LG Official Guide, Kenmore User manual, GE washer front load user manual, Maytag Front Load Washing Machine Official Troubleshooting Guide.