House owners need power sources for their sheds to run electric appliances. The appliances in the shed consume a high amount of power, for which a breaker is insufficient. That is when you require to install a subpanel.
The right size of subpanel for the shed would be between 30 and 60 amps. It is enough to run small and medium appliances in the shed. However, The size will vary as per the appliance load, starting from 20 amp to 80 amp. The right size depends on the equipment running in the shed.
Installing a subpanel in the shed is an excellent way to protect the equipment running in it. There are various sub-panels with different current capacities. This guide has everything you want to know about the subpanel size for your shed.
Check out our list of top-handpicked products for all your electrical, appliance, and HVAC system needs to keep your home running smoothly.
This post includes some affiliate links.Does a shed need a subpanel?
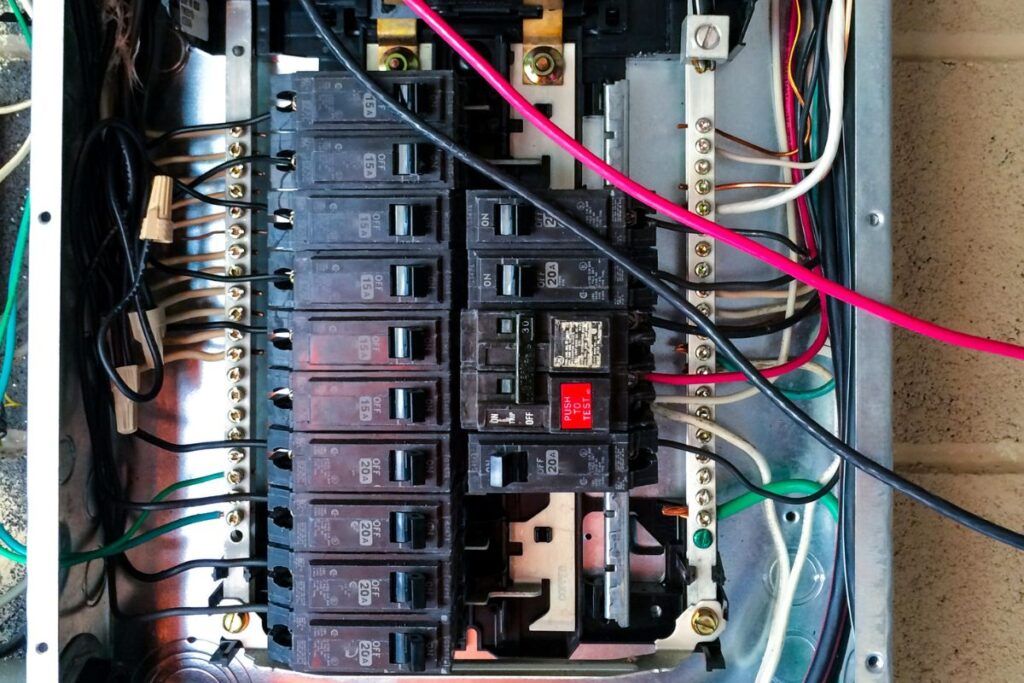
The breakers are installed to give current to every part of your house.
The regular breakers power specific areas’ outlets, and the main breaker powers these breakers.
But, if you have a shed outside your house, then a breaker is inadequate to supply power to the outlets of that building.
A sub-panel is the secondary power supply electrical box that distributes electricity to the outlets in another building outside your house.
The type of equipment and appliance you use inside the shed will determine whether you need a subpanel or not.
You won’t require a sub-panel if you have only light bulbs and wall sockets.
The breaker would be enough for that.
But, if you want to run heavy appliances like the drill or any other device with a high wattage, you need to install the sub panel.
Otherwise, your breaker will constantly trip off.
How can a subpanel benefit the shed?
Installing a subpanel can save you in multiple ways.
- The subpanel in the shed can prevent current surges and short circuits in the appliances of the shed.
- If the breaker cannot carry the appliances’ load, the subpanel can carry and save the breaker from tripping.
- The subpanel acts as a power distribution board where you can share multiple circuits with various current ratings.
- The subpanel will prevent several electrical accidents in the shed.
- Subpanels with circuit breakers work as an emergency power stop during any emergency.
What are the negative things about installing a subpanel in the shed?
Though a subpanel can save the shed from various accidents, some drawbacks exist.
- Installing a sub-panel will be very expensive with the professionals, nearly around $1,500 or more.
- If the subpanel is properly connected, it won’t be able to give a proper power supply to the shed’s appliances. As a result, the main panel breaker will trip off frequently.
- Any pet animals staying in the shed can easily access the sub-panel. They can start chewing the wires and damage them, which can further start a fire.
What size of sub-panel should I use for the shed?

A shed would require a 50 to 60-amp sub-panel if you have added some heavy electrical appliances, like the power drills.
It is optional to add this amperage only.
You may add a lower panel, like 20 to 30 amp, if you have only a limited amount of appliances that draw very low power.
For lighter loads, like the light bulbs, a mini fridge, mobile chargers, etc., a 40 amp sub panel would be enough.
There is no exact size for the subpanel, as it depends on the number of appliances you have added and their wattage.
Some appliances consume only 20 watts, and some consume as high as 1.5kw.
So, according to the appliances’ wattage, the sub-panel size can be as low as 20 amp or as high as 80 amp, based on the added devices.
Sometimes, the shed subpanel will also handle up to 90 amps and 120 volts.
But before that, you should calculate the wattage of the panel.
It will allow you to control the power the appliances will consume.
Generally, the appliances you want to use in the shed should be up to 3,600 watts.
As the sub-panel feeds power directly from the main breaker, you should stay within this rate.
The amperage of the main breaker should be higher than the sub-panel.
Wire size for the sub-panel
The different amps of a subpanel will require different wire gauges to wire the panel to the shed.
| Amps of a subpanel | Wire gauges |
|---|---|
| 20 amp sub panel | 12 gauge wire |
| 30 amp panel | 10 gauge wire |
| 50 or 60-amp panel | 4-6 gauge wire |
| 80-90 amp panel | 2 or 3-gauge wire |
How much will it cost to install a subpanel in the shed?
The cost to install a subpanel in the shed depends on the panel size.
An average cost for materials and artistry would cost around $1,400 to $1,750.
The subpanel, wires, breakers, conduits, and sockets may cost around $500.
These costs will depend on the location you live.
The cost in the urban areas is 10-14 times higher than in the rural areas.
The costs to install a subpanel in the shed, depending on the amp, are:
| Amp | costs to install a subpanel |
|---|---|
| 20-30 amp | $300 to $400 |
| 40 amp | $450 to $500 |
| 50 amp | $480 to $500 |
| 60 amp | $500 to $600 |
| 80-90 amp | $800 to $1,700 |
It is not the exact price. Depending on location, labor cost, trenching, conduits, permission, wiring, and many more, it will change.
These factors can increase the cost of subpanel installation and reach nearly $2,000 to $3,000 or more.
- Labor cost – $50 to $100 per hour
- Permission – $50 to $300
- Wiring – $600 to $2000
If any underground power line running exists, that would require some extra cost due to the following:
- Trenching – $8 per linear foot
- Trenching fill back – $1.60 to $4.50 per linear foot
- Excavator machine – $300 to $500 for renting
- Conduits – $12 to $17 per linear foot
The average high and low-end cost to install a subpanel could be between $125 and $3,500.
Also read: How Much Does It Cost To Run Power Lines Underground?
What size of breaker do I need for a shed?
Regarding the power supply, the shed’s breaker requirements differ from the house’s.
The shed will use power a few times, but the wattage will be much higher when it uses the power.
Some common appliances are saws, compressors, grinders, etc.
So, you need a 20 amp breaker for the shed to help power the multiple tools and lights on the same circuit.
A 30 amp breaker with 120 volts will be enough if you have a window air conditioner.
If you need 120 volts for larger appliances like power drills or welders, you need a 60-amp circuit.
If you have only some light bulbs or phone chargers, you can use a 15 amp breaker.
The cost to install a breaker can be between $300 and $2,500, including the labor cost, conduits, and other things.
Wire size for breaker
If you have a 20 amp circuit 85 feet away, you can use a 10 gauge wire.
If the distance is 50 feet, a 12 gauge wire would be enough.
But if the circuit amp is higher, you need lower gauges. For example:
- 15 amp – 14 gauge wire
- 30 amp – 10 gauge wire
- 40-50 amp – 8 gauge wire
Distance may affect the wire size.
A 20 or 30-amp breaker is a standard breaker size for the shed.
In that case, the wire size and distance would be:
| Wire size | Distance |
|---|---|
| 150 feet | 6/2 gauge wire for 20 amp and 120 volts, 8/3 gauge wire for 30 amp and 120 volts. |
| 300 feet | 4/2 gauge wire for 20 amp and 120 volts, 4/3 gauge wire for 30 amp 120 volts. |
| 500 feet | 1/0 gauge wire for 20 amp and 120 volts, 3/3 gauge wire for 30 amp and 120 volts. |
Also read:
- Wire Size For 200 AMP Service: Complete Table And Chart
- Wire Size For 100 AMP Service: Complete Table And Chart
- Can You Use a 15 AMP Switch On a 20 AMP Circuit?
What happens if the wire size is too big?
Use a larger wire while using a welder and an electric furnace.
An oversized wire in a small circuit won’t be a problem.
Instead, it will protect your breaker and reduce the voltage drop, which is quite a good thing.
If you want to upgrade the breaker in the shed to add more appliances, you can do that without changing the wire.
Since an oversized wire reduces the voltage drop, the appliances in your shed will work much better.
What happens if the wire size is small?
A smaller gauge wire will be dangerous for the shed’s breaker.
A shed will have appliances that can draw enough power from the breaker and the subpanel.
So, if you use a smaller wire, it will trip the breaker frequently.
Besides, the wire will get overheated, damage the appliance, and start a fire.
For example, the resistance will increase if you use a 14 gauge wire in a 30 amp circuit. That will melt the wire and start a fire.
So, it would be best to choose the exact wire size or higher gauge wire, like 8 or 10.
How to wire a subpanel in the shed?

Installing and wiring a subpanel in the shed requires 5 simple steps.
Before you start working on it, check the local or NEC (National Electric Code) codes.
If you do not have any local codes, follow the NEC codes.
If you have the local codes and they are separate from the NEC, prioritize the local codes.
Things required:
- Subpanel and wire clamp
- Wire gauge, size depending on the sub-panel amp
- Breaker for circuit installation
- Screws
- Electric drill
- 1-inch diameter and 7-inch long drill bit
- Metal and plastic conduits
- Fish tape
- Conduit bender and pipe wrench
Now let’s jump to the steps:
Find a route and bury the wire.
Before installing the subpanel, find a route to run the wires for the feeder with the main panel.
Trenching and a conduit will help you here.
The conduit is a pipe through which you can run wires.
The conduit will help to connect the sub-panel with the main service.
Use weather-resistant PVC conduit.
Burying the wire can also prevent electrical hazards and guarantee the line’s safety.
Bury the conduits around 6 inches deep.
Join the pipes with a wrench and bend using a bender.
Extend the pipes from the house to the sub-panel.
You can also use a fish tape to easily place the feeder wire inside the conduit.
Use the conduit covering to secure the ends of the pipe.
Install the subpanel
Once the feeder line is complete, connect the conduit wires with the subpanel and install the panel to the shed.
Place the sub panel in an open location that is at least 3 feet wide and does not have any obstructions around.
An open area without hindrances will allow good access to the electrical service.
Connect the wires of the feeder’s primary connection with each terminal.
It will have two hot wires, red and black for two hot terminals, one white wire for the neutral bar, and a bare green wire for the ground.
Install the circuits of the shed
Install the shed’s lighting and outlets using a wiring diagram.
Set up the light at the height of 48 inches and 12 inches for the outlets.
Use a 10 or 12-gauge wire for a 15 or 20-amp circuit breaker powered at 120 volts.
Though you can use a 14 gauge wire, 12 gauge can keep the breaker safe if the electricity flow is too much for the wire to handle.
For a 30 amp circuit with 220 volts, you should use a 10 gauge wire.
This circuit will be good if you use high-powered equipment such as a table saw.
Use an electric drill and a 1-inch diameter drill bit to make a hole in the wall stud to pass the wire.
Connect the feeder and the circuits
Before you connect all the circuits, check for a green screw at the center of the 2 neutral bars.
The green screw binds the neutral bar to the case that connects the ground and the neutral.
To install the subpanel, you have to remove the screw.
You also need to install the ground bar to the panel to establish a ground connection.
Now, install the breakers and connect them.
Connect the subpanel with the main panel

An outdoor subpanel installation will require GFCI (Ground Fault Circuit Interrupter) attached to the main breaker.
The NEC highly recommends GFCI protection for outdoor installations.
Switch off the main breaker before connecting the subpanel with the main one to prevent electric shocks.
Wire the subpanel to the main panel.
Once you are done connecting, switch on the main breaker and the feeder breaker.
Switch on all the other circuits inside the sub-panel.
Tip: You must install an 8 feet long ground rod outside the shed if the shed is outside your house.
Use the rod to connect a copper wire and attach it to the ground bar for enhanced grounding.
Final thoughts
The size of the subpanel for the shed depends on the number of equipment in the shed.
Use a 30 or 40-amp sub-panel if you have lighter appliances.
If you have heavy-consuming appliances, go for a 60 amp sub panel.
The panel size can be as low as 20 amps or as high as 80 amps.
The shed can also handle 90 amps.
The breaker size, too, depends on the load of the shed.
You can use breakers ranging from 15 to 30 amps.
If the load is higher, the subpanel will manage it.
It is optional to have a sub-panel.
If the shed has very light appliances like only light bulbs, you do not have to install the sub panel.
But, if you have phone chargers, a table saw, a window air conditioner, drills, etc., you must install the sub panel.
FAQs
Will the shed’s subpanel need a main breaker?
A separate main breaker for the shed’s subpanel is unnecessary, especially if the subpanel has fewer than 6 circuits.
Adding a main breaker with the sub-panel will disconnect all the circuit connections without turning off the main panel.
Can I wire a subpanel with 3 wires?
In the old days, people used to wire a subpanel with 3 wires, where the neutral and ground were connected as one.
But the recent electric code forbids such a setting in the sub-panel. Neutral and ground must be separate.
Can I ground a 30 amp subpanel in the shed?
Yes, you can ground a 30-amp subpanel in the shed.
It prevents the ground wire from carrying the returned neutral current when everything functions normally.
Reference: National Electrical Code, NEC Wire Table, Electrical wiring, Home wiring.